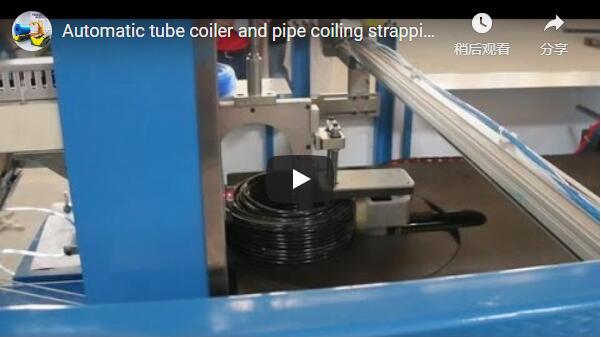
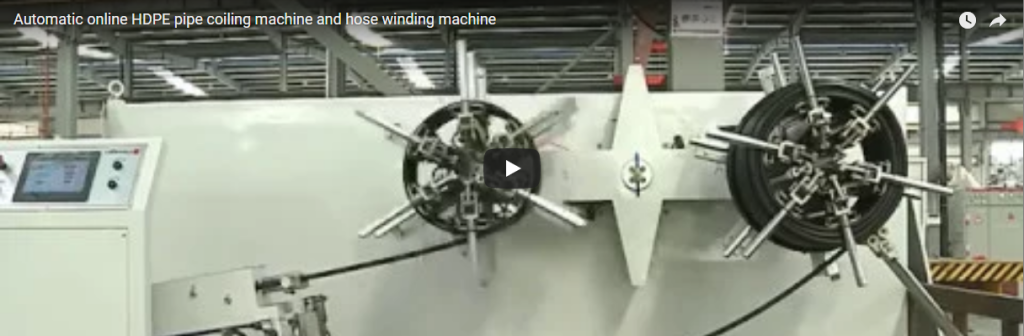
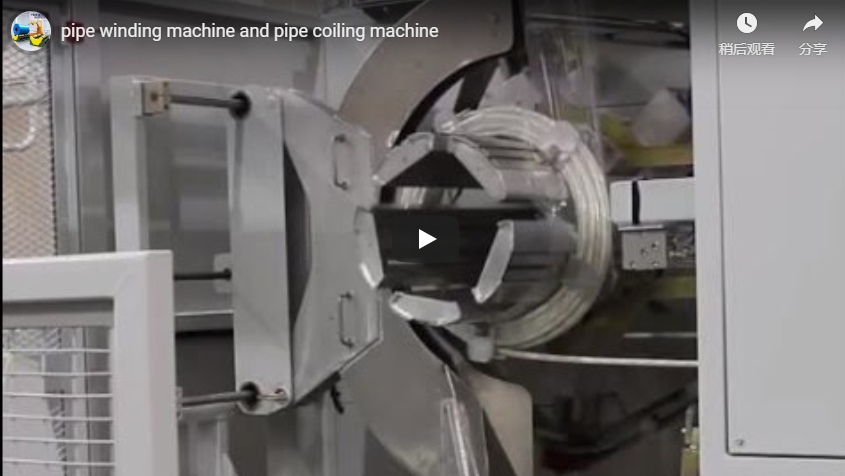
Automatic tube coiler and pipe coiling strapping machine

Executive summary This video shows an automatic tube coiling and strapping machine completing a full work cycle: a long tube is fed in, clamped and coiled on a rotating fixture under a vertical press head, then ejected onto an outfeed rail as a finished black coil. The footage also shows a strapping/finishing station and finished coils on the conveyor, plus a clearly marked emergency stop button. No cycle times, power ratings, or capacity figures appear anywhere in the video — those must be confirmed with the manufacturer.

If you coil tubes, hoses, or cables by hand today, the biggest problems are always the same: inconsistent coil diameters, tired wrists, and the time it takes to wrap and tie each bundle. The machine in this video addresses exactly that workflow — it takes a long, flexible product, winds it into a tight coil automatically, and passes the finished coil down the line for strapping. This article walks you through what the footage actually shows, what it does not show, and what you should verify before shortlisting a machine like this.

The machine in action: a full cycle, step by step

The video runs for roughly four and a half minutes and follows one complete processing sequence, filmed from several angles inside a working workshop.

Feeding and positioning (approx. 0s–28s). The opening wide shot shows a blue-painted machine frame with a red reel assembly on the left side. Long, straight silver-grey metal tubes are visible near the machine, and operators stand nearby observing. The workpiece is fed toward the center of the machine and positioned on a rotating fixture.

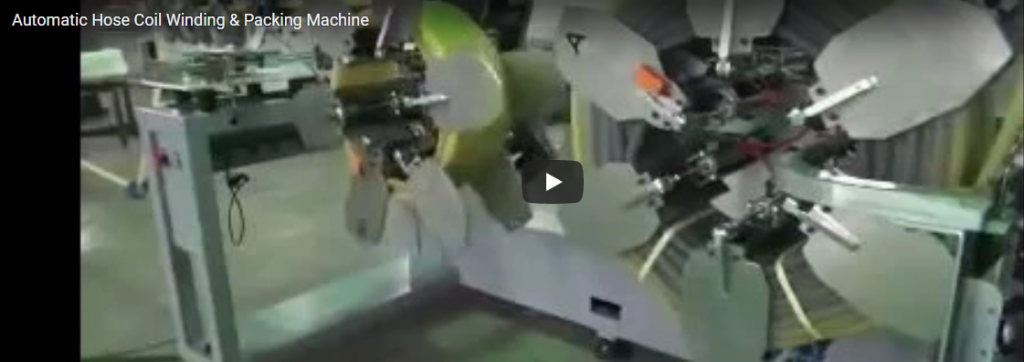
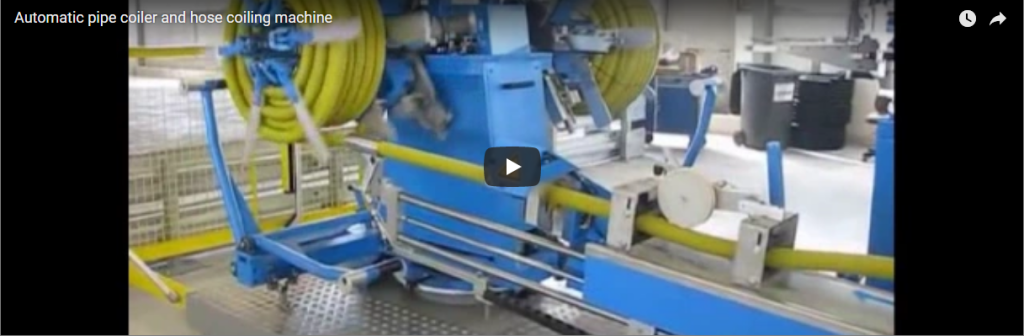
Clamping and coiling (approx. 35s–70s). This is the core of the machine’s work. A vertical press head with a brushed-metal cylinder descends and locks the workpiece against the fixture. The fixture — mounted on a golden-yellow base — then rotates, winding the material into a tight spiral. On the right side of the machine, a yellow reel pays out strapping or binding material that is applied to the forming coil, while pneumatic components with visible red and blue air lines actuate around the tooling. A yellow-and-black triangular hazard sign (a pictogram only, no text) is affixed to the press head column during this phase.

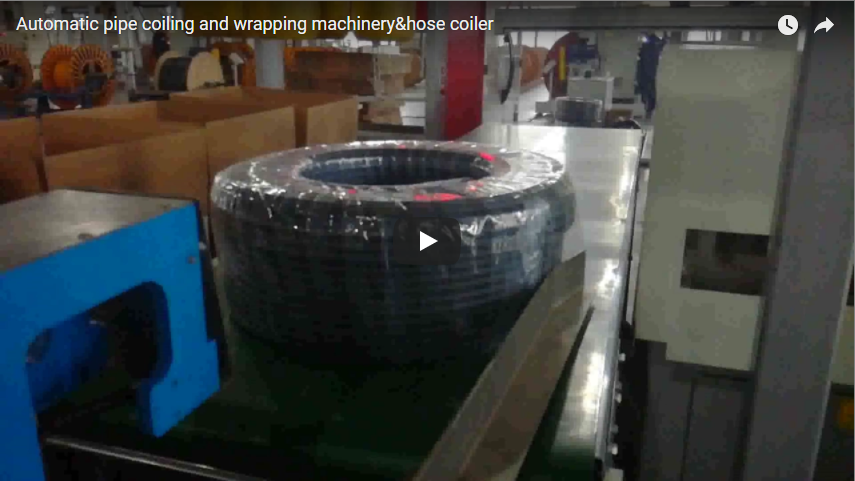
Release and ejection (approx. 70s–98s). The press head lifts clear of the fixture, rotation stops, and a completed black coiled product is pushed out of the clamping area. The coil — a compact, tightly wound disc with a smooth black surface — travels along a metal outfeed rail to the end of the conveyor, where it rests ready for the next step.

Strapping and finishing stations (approx. 105s onward). The camera then pans across the rest of the cell. You see finished black coils resting on the conveyor, a second work position where a straight silver metal tube is delivered along a guide rail to a large disc-shaped pressing/winding head, and finally a white-bodied machine with red clamping fixtures and its own control panel with indicator lights — consistent with a strapping or finishing station at the end of the line. The closing wide shot shows both machines side by side, connected by a conveyor, in a larger workshop with racks and other equipment in the background.

What the video shows — quick reference

Segment Time (approx.) What is visible
Feeding 0s–28s Straight tubes near machine, operators observing, workpiece positioned at the fixture
Coiling 35s–70s Press head descends, fixture rotates, material wound into a spiral, strapping reel active
Ejection 70s–98s Press head retracts, finished black coil pushed out onto the outfeed rail
Second station 105s–175s Straight metal tube guided to a disc-shaped winding head and pressed into a coil
Strapping/finishing 168s–280s White machine with red clamps, control panel with lights, conveyor moving stacked round parts

Direct observation notes

The following observations are kept close to the frame-by-frame analysis, with only light grammatical editing:

  • The machine’s main frame is blue-painted steel; the worktable is dark metal; some covers are white or grey.
  • On the left sits a red double-layer reel (for strapping or binding material). In the center, a vertical pneumatic/hydraulic press head with a silver cylinder and guide rod sits above a rotating fixture on a golden-yellow base. On the right are a yellow reel, pneumatic actuators with red/blue air lines, and a rail system. A white control cabinet with indicator lights and piping stands at the rear.
  • The control panel is a grey-white housing on the press head column with one rotary knob, one push button, and a row of LED indicators (red/green/yellow); no text labels are visible on the panel.
  • A red mushroom-head emergency stop button is clearly visible on the front of a white cabinet, above the power inlet, seen in a side close-up around t≈168s–175s.
  • A yellow triangular warning label with an exclamation/electrical hazard pictogram is attached near the press head column; there is no accompanying text.
  • The finished product is a black, tightly wound coil with a smooth surface; the raw material is a long silver-grey metallic tube (estimated outer diameter roughly 2–3 cm relative to the fixture) plus a black flexible hose/cable material coiled earlier on the table.
  • The only readable text in the entire video is the watermark www.fhopepack.com overlaid on the footage. No model numbers, parameter plates, or certification marks are readable anywhere.
  • Operators are seen standing close to the work area while the press head is down and the fixture is turning; no fixed guarding or light curtain is visible.

What the video does not show

This is just as important for a buyer. The footage contains no readable specifications of any kind, so none of the following can be judged from the video alone — every one of these must be confirmed with the manufacturer:

  • Rated power (kW), supply voltage, and frequency
  • Cycle time per coil and hourly output
  • Maximum and minimum coil diameter and coil weight
  • Compatible tube/hose/cable outer diameters and materials (PVC, PE, rubber, steel, aluminum, etc.)
  • Strapping width, thickness, and material; reel capacity
  • Machine footprint, height, and weight
  • Whether coiling parameters (turns, pitch, tension) are adjustable, and how changeovers between product sizes work
  • Safety certifications (CE or equivalent), guarding options, and interlock functions
  • PLC/HMI capabilities and options for connecting to a factory system

Do not treat the estimated dimensions above as specifications — they are visual estimates from frames, included only to give a sense of scale.

Safety observations worth your attention

Because this is equipment with a descending press head and a rotating fixture, safety configuration matters. From the footage:

  • An emergency stop button is present on the white cabinet — a positive sign.
  • No fixed guarding or light curtain is visible, and operators stand close to the moving press head during operation.
  • The only safety marking observed is a graphic-only hazard label; no text-based warnings are readable.

This does not necessarily mean the machine is unsafe — additional guarding may exist off-camera or be available as an option. But when you inquire, ask specifically about guarding, light curtains, two-hand or safe-distance start logic, and interlocked access. Treat anything not shown as “verify with the manufacturer.”

Where a machine like this fits

Based on the workpieces visible in the video, this type of automatic coiling and strapping cell suits:

  • Hose and flexible tubing producers who ship product in coils and need uniform, tightly wound bundles
  • Cable and wire assembly operations preparing tied coils for packaging
  • Small metal tube processors who need tubes formed into rings or coils before strapping
  • Packaging lines where coiled product feeds onward into a strapping or wrapping station — note the second machine in the footage with red clamps and its own control panel, which appears to handle the finishing step

The clear benefit versus manual coiling is consistency: every coil is wound under the same pressure and pattern, with the machine ejecting finished coils onto the conveyor automatically. Consistent coil diameter also makes downstream strapping and palletizing more predictable. For anyone currently winding by hand, it also removes a highly repetitive task that causes fatigue and strain.

Questions to ask before you buy

Use this checklist when you contact a supplier about a coiling and strapping machine like the one shown:

  1. What tube/hose/cable outer diameter range and coil diameter range can the fixture accept, and how long does a size changeover take?
  2. Are coil turns, winding pitch, and tension programmable per product?
  3. What is the actual measured cycle time for a product like mine — ask for a video with a timer visible.
  4. What safety package is included: guarding, light curtain, interlocks, e-stop coverage on all stations?
  5. Which strapping material and coil size does the strapping station accept?
  6. What commissioning, operator training, and spare-parts support is offered, and what are the wear parts?

FAQ

Does the machine coil and strap in one pass? The video shows coiling with strapping material being applied from a reel during winding, followed by ejection of the finished coil and a separate strapping/finishing station downstream. Whether the exact layout shown is a one-pass integrated process for your product should be confirmed with the manufacturer.

What materials can it handle? The footage shows a silver-grey metallic tube and a black flexible hose/cable-type material being coiled. The machine’s full compatibility range in terms of material, diameter, and stiffness is not stated — check with the manufacturer.

How fast is it? No cycle time, output rate, or speed figure appears in the video. Any capacity claim you receive should come from the manufacturer with test conditions attached.

Is it safe to stand near the machine while it runs? The video shows operators standing close by, and no guarding or light curtain is visible. Best practice is to keep clear of the press head’s travel zone while it is moving, and to confirm the machine’s safety package with the supplier before purchase.

Can it be integrated into an existing line? The footage shows the coiler connected by conveyor to a second machine, so line integration is clearly part of the design shown. Details about control interfaces and layout for your specific line are not shown — confirm with the manufacturer.

Source and method

This article is based on a frame-by-frame analysis of the YouTube video embedded above. The analysis was performed by a local vision model on sampled frames; the video contains background music only, with no narration or speech, so no dialogue was transcribed. Everything stated as fact comes from what is visible in the frames; everything else is either clearly labeled as inference or marked for confirmation with the manufacturer.

Related reading

Next step

The most efficient next move is to send the supplier your actual product — tube diameter, material, coil size you need, and target output — and ask them to confirm cycle time and tooling on video. You can reach the team through the contact page to discuss your application, request the specifications missing from this footage, or arrange a demonstration.

Published: 2026-09-03