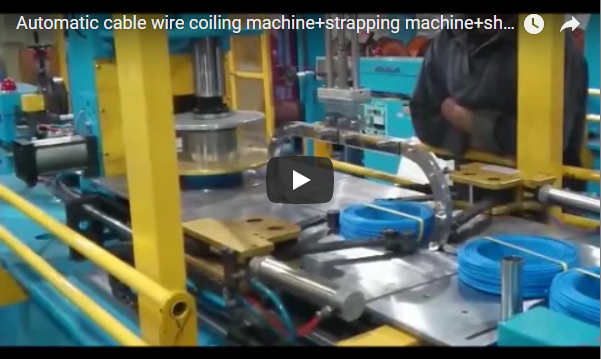
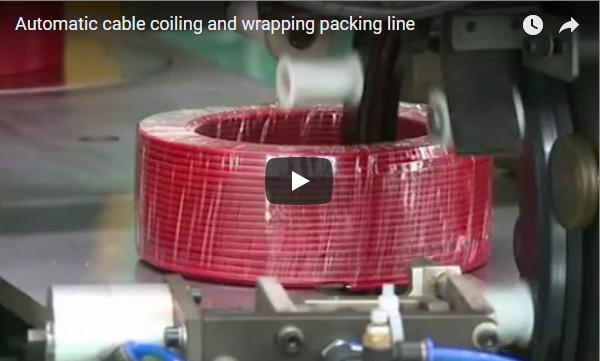
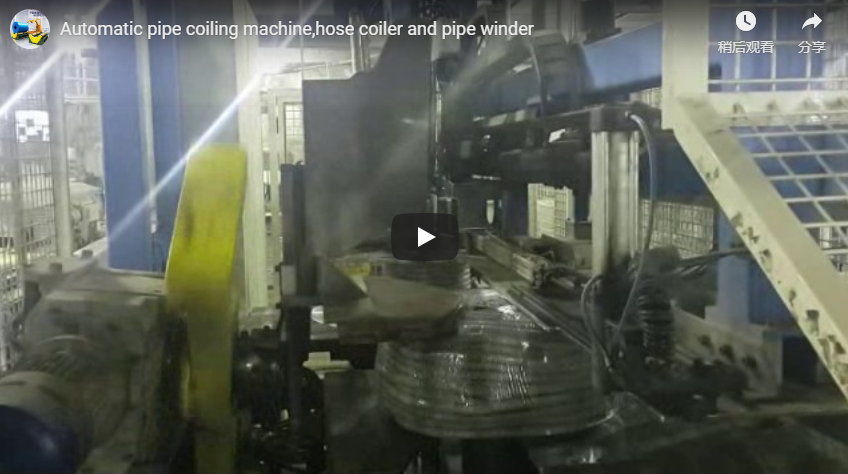
Executive summary This video shows an automatic cable coiling machine forming neat yellow cable coils on a rotating table, with pneumatic arms pressing, holding and releasing each coil through a repeating cycle. The footage covers feeding, winding, compaction and removal of finished coils. No control panel, safety guarding or binding material detail is clearly visible, and all specifications should be confirmed with the manufacturer.
If you coil, bundle and pack cable or wire by hand, this video answers a simple question: what does an automatic coiling and binding machine actually do, cycle by cycle? The answer below is based only on what is visible in the footage — the machine running, the cable moving, the coils forming. Where the video shows nothing (capacity, power, certifications), we say so plainly instead of guessing.
What the video shows: the machine in action, step by step
The footage runs for roughly four minutes and shows the machine completing repeated coiling cycles. Following one cycle through the timeline:
- Feeding (from t≈0s). Yellow insulated cable is fed from a spool at the side of the machine and guided toward the center of the rotating worktable.
- Positioning (t≈6–18s). The table begins to rotate. A central press head moves down, holding the cable end and forcing it to wind around the central axis in a spiral.
- Compaction (t≈18–24s). Rotation pauses while the press head keeps pressure on the forming coil, stabilizing the first layers.
- Clamping (t≈30–42s). A pneumatic arm on the right reaches in and grips the outer edge of the coil, holding it so it cannot loosen.
- Second layer winding (t≈42–60s). The table spins again and new cable is layered on top of the existing coil, building up thickness.
- Finishing and release (t≈60s onward). Rotation slows, the press head shapes the coil one final time, and the clamping arm releases. The finished coil is moved aside and the machine prepares for the next cable.
Later in the video (from t≈108s onward) the same pattern repeats: the table stops, a central column-style clamp grips the cable start, the table and take-up rotate together to wind a cylindrical coil, a top press compacts it axially, and the finished coil is transferred to the output side. By t≈168s, two completed yellow cable coils can be seen standing side by side at the edge of the table. Near the end of the footage (t≈228s), a hand reaches in to pull a full loop of cable from a spool and hold up a finished, disc-shaped coil to the camera — a useful close view of the final product.
Direct observation notes
The block below stays close to what the vision analysis actually observed, with only light grammar edits.
- Yellow insulated cable coil placed on a rotating worktable, with a mechanical arm above in a ready position; a finished yellow coil visible at the left; background carries a “FHOPE GROUP” watermark.
- The table rotates counterclockwise; a right-side arm extends toward the center to grip or position the cable; the left spool stays still.
- At high rotation speed, a central clamp/press head moves down, pressing the cable into the center hole of the rotating platform.
- Rotation pauses, the press head lifts, and the cable has formed an initial coil; the right arm retracts.
- The right arm grips and presses the outer edge of the formed coil; part of the cable is pulled from the left spool toward the next station.
- Rotation resumes at medium and then high speed; centrifugal force helps the coil hug the central axis; the clamping arm adjusts to the coil diameter.
- Rotation slows, the press head makes a final shaping pass, the arm releases, and one cycle is complete.
- A new cable is fed in, a second layer is wound, and the press head keeps pressure so the layers sit tight.
- Later frames show the central column clamp descending to grip the workpiece, a top press compacting the coil, and finished coils stacked at the table edge.
- In the final frames, a hand pulls a loop of yellow cable from a spool and holds a completed disc-shaped coil up to the camera.
- Cable appearance: bright yellow PVC sheath, smooth surface, some ends showing black or red insulated terminals; finished coils are regular spirals with tight layering.
- Machine structure: silver-grey metal frame, central round rotating table with locating holes, a column-style central clamp, an elevating press head, a right-side pneumatic gripper/pusher arm, a left-side cable guide arm with rollers, and blue pneumatic tubing routed along the frame.
- Readable text: a “FHOPEGROUP” watermark in the upper-left corner of the footage, plus “FHOPE” markings on or near the worktable. No nameplate, model number, voltage or certification marks are legible.
What the video does not show
Just as important as what you can see. None of the following appears in the footage, so treat all of them as questions for the manufacturer:
- Machine model designation and rated specifications (power, voltage, frequency)
- Actual cycle time and production capacity (coils per hour)
- Cable diameter and length range the machine accepts
- Whether binding/tying is automatic, and with what material (the video shows pressing and gripping motions; no tie, tape or cut action can be clearly confirmed — verify binding method with the manufacturer)
- Control interface details: no HMI screen or button panel is clearly visible in any frame
- Emergency stop buttons, safety guarding, light curtains, interlocks or warning labels — none are visible; the working area is open
- Safety certifications (CE, UL or similar), maintenance intervals or spare-parts information
- Any in-line inspection (looseness, broken strands, color errors) — the footage shows no detection step
That last group matters in practice. An open working area with a rotating table and moving arms means your site layout, training and guarding decisions carry real weight. Ask the manufacturer what safety accessories are available as standard or optional, and what interlocks exist in the control logic even if they are not visible externally.
Where this type of machine fits
Based on the product and process visible in the video, this style of automatic coiling machine suits:
| Application area | Why it fits |
|---|---|
| Electronics and wire-harness plants | Repetitive coiling of standard-length cable with consistent, tidy coil geometry |
| Communication equipment assembly | Small-diameter cable wound into uniform coils for downstream packing |
| Cable finishing lines | Replacing manual coil-and-tie work, where consistency and operator comfort are the pain points |
| Small-batch flexible production | Compact layout and changeable fixtures allow different cable specs (subject to fixture adjustment — verify with the manufacturer) |
The derived benefits visible in the footage are qualitative: coil shape and layer tightness look uniform across cycles, the machine repeats the same sequence without manual intervention in the winding phase, and the operator does not need to touch the cable during coiling. One nuance to note: the video does not show a fully closed loop. A hand appears near the end of the footage handling cable and presenting a finished coil, so loading or unloading may involve an operator — confirm the level of automation you will actually get.
Buyer checklist: what to verify before ordering
Use this list when you request a quotation:
- Cable compatibility — minimum and maximum cable diameter, and whether coil diameter and length are adjustable within your product range.
- Binding function — the machine is described as coiling and binding, but the footage does not clearly show the tie step. Ask exactly how binding is performed and with what consumables.
- Cycle time and output — request measured figures for your cable spec, not generic catalog numbers.
- Control system — HMI type, parameter adjustment (coil turns, speed, tension), and fault diagnostics.
- Safety package — emergency stop placement, guarding or light curtain options, and compliance with your local electrical safety standard.
- Changeover — time and procedure to switch to a different cable diameter or coil size.
- After-sales — commissioning, operator training, spare parts availability and remote support.
Frequently asked questions
Does the video show fully automatic operation? The winding, pressing, clamping and transfer sequences run automatically and repeat continuously. However, a hand appears in the final frames handling cable and a finished coil, so part of the loading or unloading may be manual. Confirm the exact automation level with the manufacturer.
What cable is shown in the video? Bright yellow insulated cable with a smooth sheath, roughly 6–8 mm in diameter based on visual comparison, wound into coils of roughly 25–30 cm outer diameter. These are visual estimates from the footage, not specifications.
Can I see the control panel in the video? No. Only a small white electrical module with indicator lights is visible; no screen, buttons or readable labels appear in any frame. Ask the manufacturer for control system details.
Does the machine include safety guarding? No guarding, light curtain, emergency stop button or warning label is visible in the footage. Whether such features are included or optional must be confirmed with the manufacturer.
How is the coil bound? The footage shows pressing and gripping actions that hold the coil together, but no clear tie, tape, or cut action is visible. Since the product is described as a coiling and binding machine, request a demonstration of the binding step and the binding material used.
Maintenance points to discuss with the supplier
The video shows a pneumatically driven machine with tubing, cylinders and moving arms — areas that typically need routine attention (this is general guidance, not a statement about this specific machine’s service schedule):
- Check pneumatic fittings and tubing for leaks, since air loss can cause clamping or press actions to weaken.
- Keep the rotating table and clamp surfaces clean; the footage shows a workshop environment with loose items nearby, and debris under a coil affects winding quality.
- Periodically verify cable tension settings so the coil winds tight without stretching the conductor.
- Ask the manufacturer for the lubrication schedule, consumable parts list and recommended inspection intervals — none of this is shown in the video.
Related reading
- Automatic coiling machine overview
- Automatic cable coiling and wrapping machine
- Wire coil wrapping machine
- Semi-auto pallet wrapping machine
- Automatic pallet wrapping machine
Next step
The video gives you a honest look at the mechanical process — feeding, winding, pressing, releasing — but not the numbers you need to buy with confidence. Contact us through our contact page with your cable diameter, coil size and required output, and we will confirm specifications, binding method, safety options and cycle time for your application.
Source and method: this article is based on the video above as its only factual source. The footage was analyzed frame-by-frame with a vision model; the video contains background music only, with no narration or speech to transcribe. Statements marked as estimates are visual approximations; anything not visible in the footage is flagged for confirmation with the manufacturer.
Published: 2026-09-03