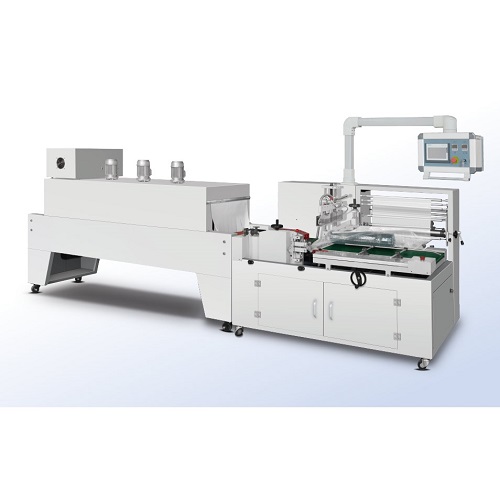
Mastering Side Sealing Machine Film Loading: A Step-by-Step Guide
Properly loading film onto your side sealing machine is crucial for efficient operation, consistent package quality, and minimizing downtime. An incorrectly loaded film can lead to jams, poor seals, and material waste. This guide provides a clear, step-by-step process for loading film correctly.
For a visual demonstration, watch the video below:
Follow these detailed steps for successful film loading:
1. Prepare the Film Roll and Safety First
- Verify Film Specifications: Before starting, confirm you have the correct film roll. Check the type (e.g., polyolefin, polyethylene), gauge (thickness), and width required for your specific side sealing machine and application.
- Inspect the Roll: Carefully examine the film roll for any damage sustained during shipping or handling, such as crushed cores, edge damage, or tears in the film. Defects can cause tracking issues or breaks during operation.
- Safety Check: Ensure the side sealing machine is safely powered down or in a maintenance mode as per manufacturer guidelines before accessing any moving parts or the loading area.
2. Access the Film Loading Area
- Safely open or access the designated film loading area on your side sealing machine. This typically involves opening guards or covers near the sealing mechanism and film unwind stand. Refer to your machine's manual if unsure about the exact location or procedure.
3. Mount the Film Roll Securely
Carefully lift the film roll and place it onto the machine's film holder, spindle, or unwind shaft.
Ensure Correct Unwind Direction: Pay close attention to the required unwind direction (over or under the roll) specified by the machine manufacturer. Incorrect unwinding can affect film tension and sealing.
Align and Secure: Make sure the film roll is centered on the holder and securely fastened using any provided collars, chucks, or locking mechanisms. It should rotate freely but without excessive side-to-side movement.

motion sealer shrinking wrapper s 4. Thread the Film Through the Correct Path
Locate the film threading path, often indicated by diagrams, arrows, or numbered guides on the machine frame.
Carefully pull the leading edge of the film from the roll.
Thread the film through the entire designated path, ensuring it passes correctly over and under all rollers, dancer arms, and sensors. This path is critical for maintaining proper tension and guiding the film accurately to the sealing section.
5. Set Film Tension and Alignment
- Once the film is fully threaded, check its tension and alignment.
- Tension: The film should be taut enough to feed smoothly without sagging but not so tight that it stretches or binds. Many side sealers have adjustable dancer arms or tension control knobs/settings. Adjust as needed to achieve smooth, consistent film flow. Proper tension is vital for good tracking and seal quality.
- Alignment: Ensure the film is tracking straight through the rollers and into the sealing area. Misalignment can cause wrinkles, jams, or uneven seals. Adjustments can sometimes be made at the unwind stand or guide rollers.
6. Secure the Film End
- After threading and initial tensioning, secure the leading edge of the film. This might involve engaging specific film clamps near the infeed or carefully feeding the edge into the machine's drive rollers according to the manufacturer's instructions.
7. Test the Film Feed
- Before resuming full production, perform a test run.
- Jog the machine slowly or run it for a few cycles (if possible, without product) to verify that the film feeds smoothly, tracks correctly, and does not jam or wrinkle.
- Observe the film path and make any minor adjustments to tension or alignment as necessary.
By following these steps carefully, you can ensure your side sealing machine is loaded correctly, setting the stage for reliable and efficient packaging operations. Always consult your specific machine's operating manual for detailed instructions and safety precautions.