What’s the Checklist for Preparing Your Facility for Mold Upender Installation?
Installing heavy industrial machinery like a mold upender requires meticulous planning. Overlooking crucial preparation steps can lead to costly delays, potential equipment damage, and significant safety risks. Imagine the disruption: the delivery truck arrives, but the designated area isn’t ready, stalling operations and inflating costs. A detailed checklist is your solution.
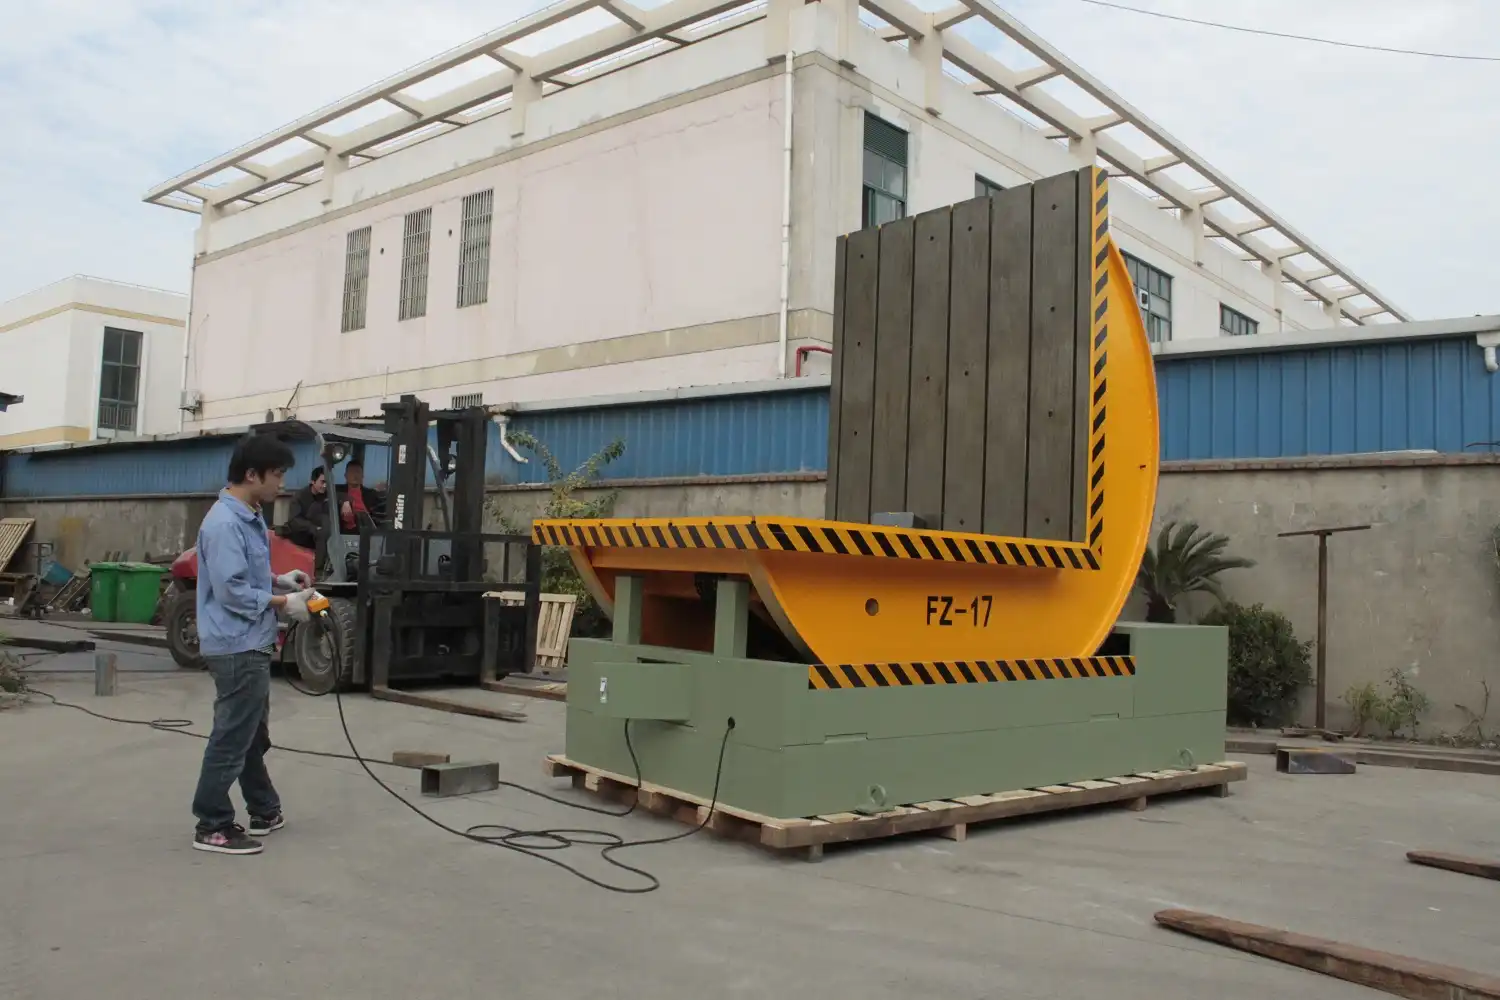
Preparing your facility for mold upender installation involves assessing floor load capacity, ensuring adequate space and clearance, verifying electrical and pneumatic supply compatibility, planning the delivery route and required handling equipment, and coordinating schedules with suppliers and internal teams. This ensures a safe and efficient installation process, minimizing downtime and preventing costly errors that could impact production schedules and budgets.
Following a structured checklist transforms a potentially daunting task into a manageable process. This guide breaks down the essential steps, ensuring your facility is fully prepared for the seamless integration of your new mold upender, maximizing efficiency and safety from day one. Let’s dive into the critical phases of preparation.
Pre-Installation Site Assessment and Preparation
Before your new mold upender even ships, a thorough site assessment is paramount. Neglecting foundational integrity, utility requirements, or spatial constraints can bring the installation process to a screeching halt, causing significant delays and unforeseen expenses. What are the absolute essential checks needed to confirm your facility’s readiness for this critical piece of equipment?
Key pre-installation assessments include verifying the floor’s load-bearing capacity against the upender’s total weight (including maximum mold weight) and dynamic operational forces; this often requires structural engineering evaluation or specific foundation reinforcement like thicker concrete pads (guidelines suggest a minimum of 8 inches for heavy or robotic equipment). Accurately measure clearances (height, width, operational envelope, and access pathways) against the manufacturer’s equipment specifications. Confirm electrical power supply (voltage, phase, amperage), compressed air availability (pressure/PSI, flow rate/SCFM), and any required data communication cable drop points precisely match the supplier’s documentation. While comprehensive soil testing is typical for new construction, verifying the sub-floor integrity and load distribution is crucial, especially in older facilities or areas not previously used for such heavy machinery.
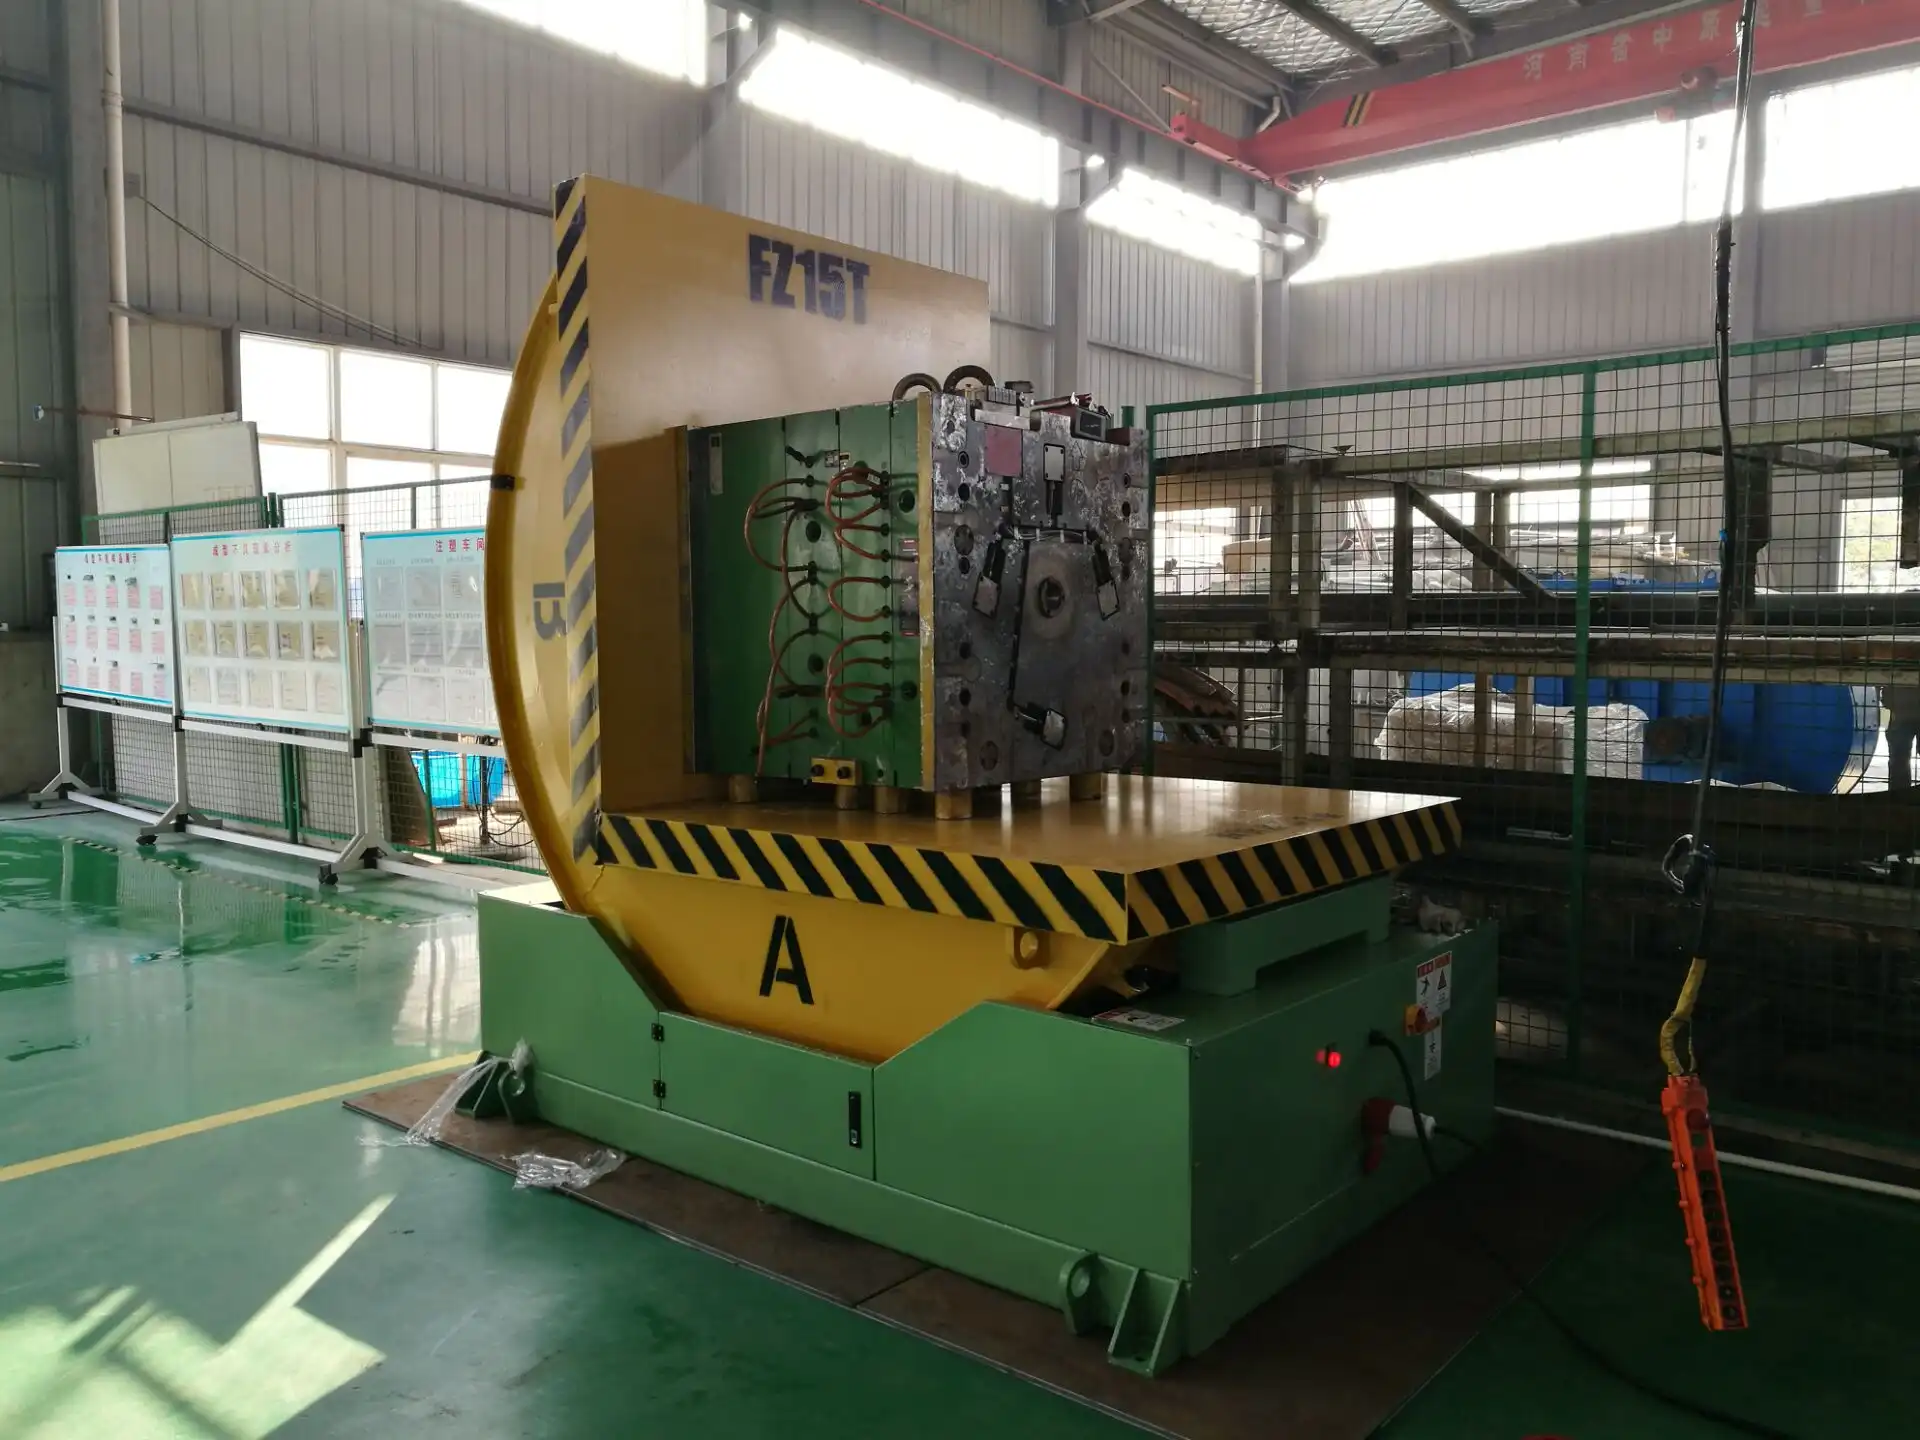
Detailed Checks for Site Readiness
Ensuring the physical location and supporting infrastructure are adequate is the first critical step. This involves more than just finding an empty space; it requires verifying that the chosen location can safely support and operate the mold upender throughout its service life.
Floor and Foundation Requirements
The sheer weight of a mold upender, combined with the molds it handles and the dynamic forces during tilting, places significant stress on the floor.
- Load Capacity Verification: Obtain the exact weight of the mold upender and its maximum rated load capacity from the supplier. Consult with a structural engineer to verify that the existing concrete floor slab can handle the static weight and dynamic operational loads. This is particularly important for installations on upper floors or mezzanines.
- Foundation Reinforcement: If the current floor is insufficient, reinforcement is necessary. This might involve pouring a new, thicker concrete pad (as mentioned, 8 inches is a common minimum for heavy equipment) or installing steel support structures. The supplier may provide specific foundation requirements.
- Levelness: The installation area must be perfectly level to ensure proper operation, prevent undue stress on the equipment frame, and maintain stability. Use precision leveling tools to check the floor and plan for any necessary grinding or leveling compound application before delivery.
Space, Clearance, and Access Route Planning
Adequate space is essential not only for the machine’s footprint but also for operation, maintenance, and safety.
- Operational Envelope: Mark out the full operational envelope of the upender, including the space required for tilting movements and mold loading/unloading access. Ensure sufficient clearance from walls, columns, walkways, and other machinery.
- Height Clearance: Verify vertical clearance, considering the highest point of the upender during its tilting cycle and any overhead obstructions like pipes, ductwork, or lighting fixtures. Relocate obstructions if necessary.
- Access Route: Plan the route from the delivery point (e.g., loading dock) to the final installation site. Measure all doorways, hallways, and corners. Identify potential bottlenecks and plan accordingly, which might involve temporary removal of doors or other fixtures. Ensure the floor along the route can support the transport weight.
Utility Verification (Electrical, Pneumatic, Data)
Incorrect utility supply is a common cause of installation delays and potential equipment damage.
- Electrical: Confirm voltage, phase, and amperage requirements from the supplier’s manual. Verify that your facility’s power supply matches and that a dedicated circuit with the correct breaker rating is available at the installation point. Ensure proper grounding.
- Pneumatic: Check the required air pressure (PSI) and flow rate (SCFM). Ensure the facility’s compressed air system can meet these demands without impacting other operations. Check for required air quality (e.g., dryness, filtration) and install necessary filters or dryers if needed. Verify the connection point location and fitting type.
- Communication: If the upender integrates with other systems (e.g., MES, safety interlocks), verify the type of communication cable needed (e.g., Ethernet) and ensure drop points are correctly located.
| Utility | Parameter | Typical Requirement (Example) | Verification Action |
|---|---|---|---|
| Electrical | Voltage/Phase/Freq | 460V / 3Ph / 60Hz | Confirm panel capacity, dedicated circuit availability |
| Amperage | 30A | Check breaker size, wire gauge | |
| Pneumatic | Pressure | 90 PSI (min) | Check system pressure at point of use |
| Flow Rate | 60 SCFM | Verify compressor capacity & line size | |
| Air Quality | Clean, Dry Air | Inspect filters/dryers near connection point | |
| Data | Type | Ethernet (Cat 6) | Ensure network drop point is installed and tested |
Thorough pre-installation site assessment prevents costly surprises and ensures a smooth transition when the equipment arrives.
Planning for Delivery and Logistics
With the site prepared, focus shifts to the complex logistics of receiving and moving the mold upender. Careful planning is essential to manage the delivery, unloading, and safe transport of this heavy and often cumbersome equipment from the delivery truck to its final installation point within your facility. How do you ensure this critical phase proceeds without incident?
Effective delivery planning involves confirming the precise delivery date and arrival window with the supplier and coordinating the availability of the supplier’s technicians for supervision if included in the contract. Critically assess facility access points, measuring doorway widths and heights against the dimensions of the largest crated component. Ensure appropriate material handling equipment – such as high-capacity forklifts, overhead cranes, skates, slings, and crowbars – is available, certified, and operated by trained personnel. Clearly map out and prepare the internal transport route, removing all obstacles and communicating the plan clearly to all affected personnel, including safety teams.
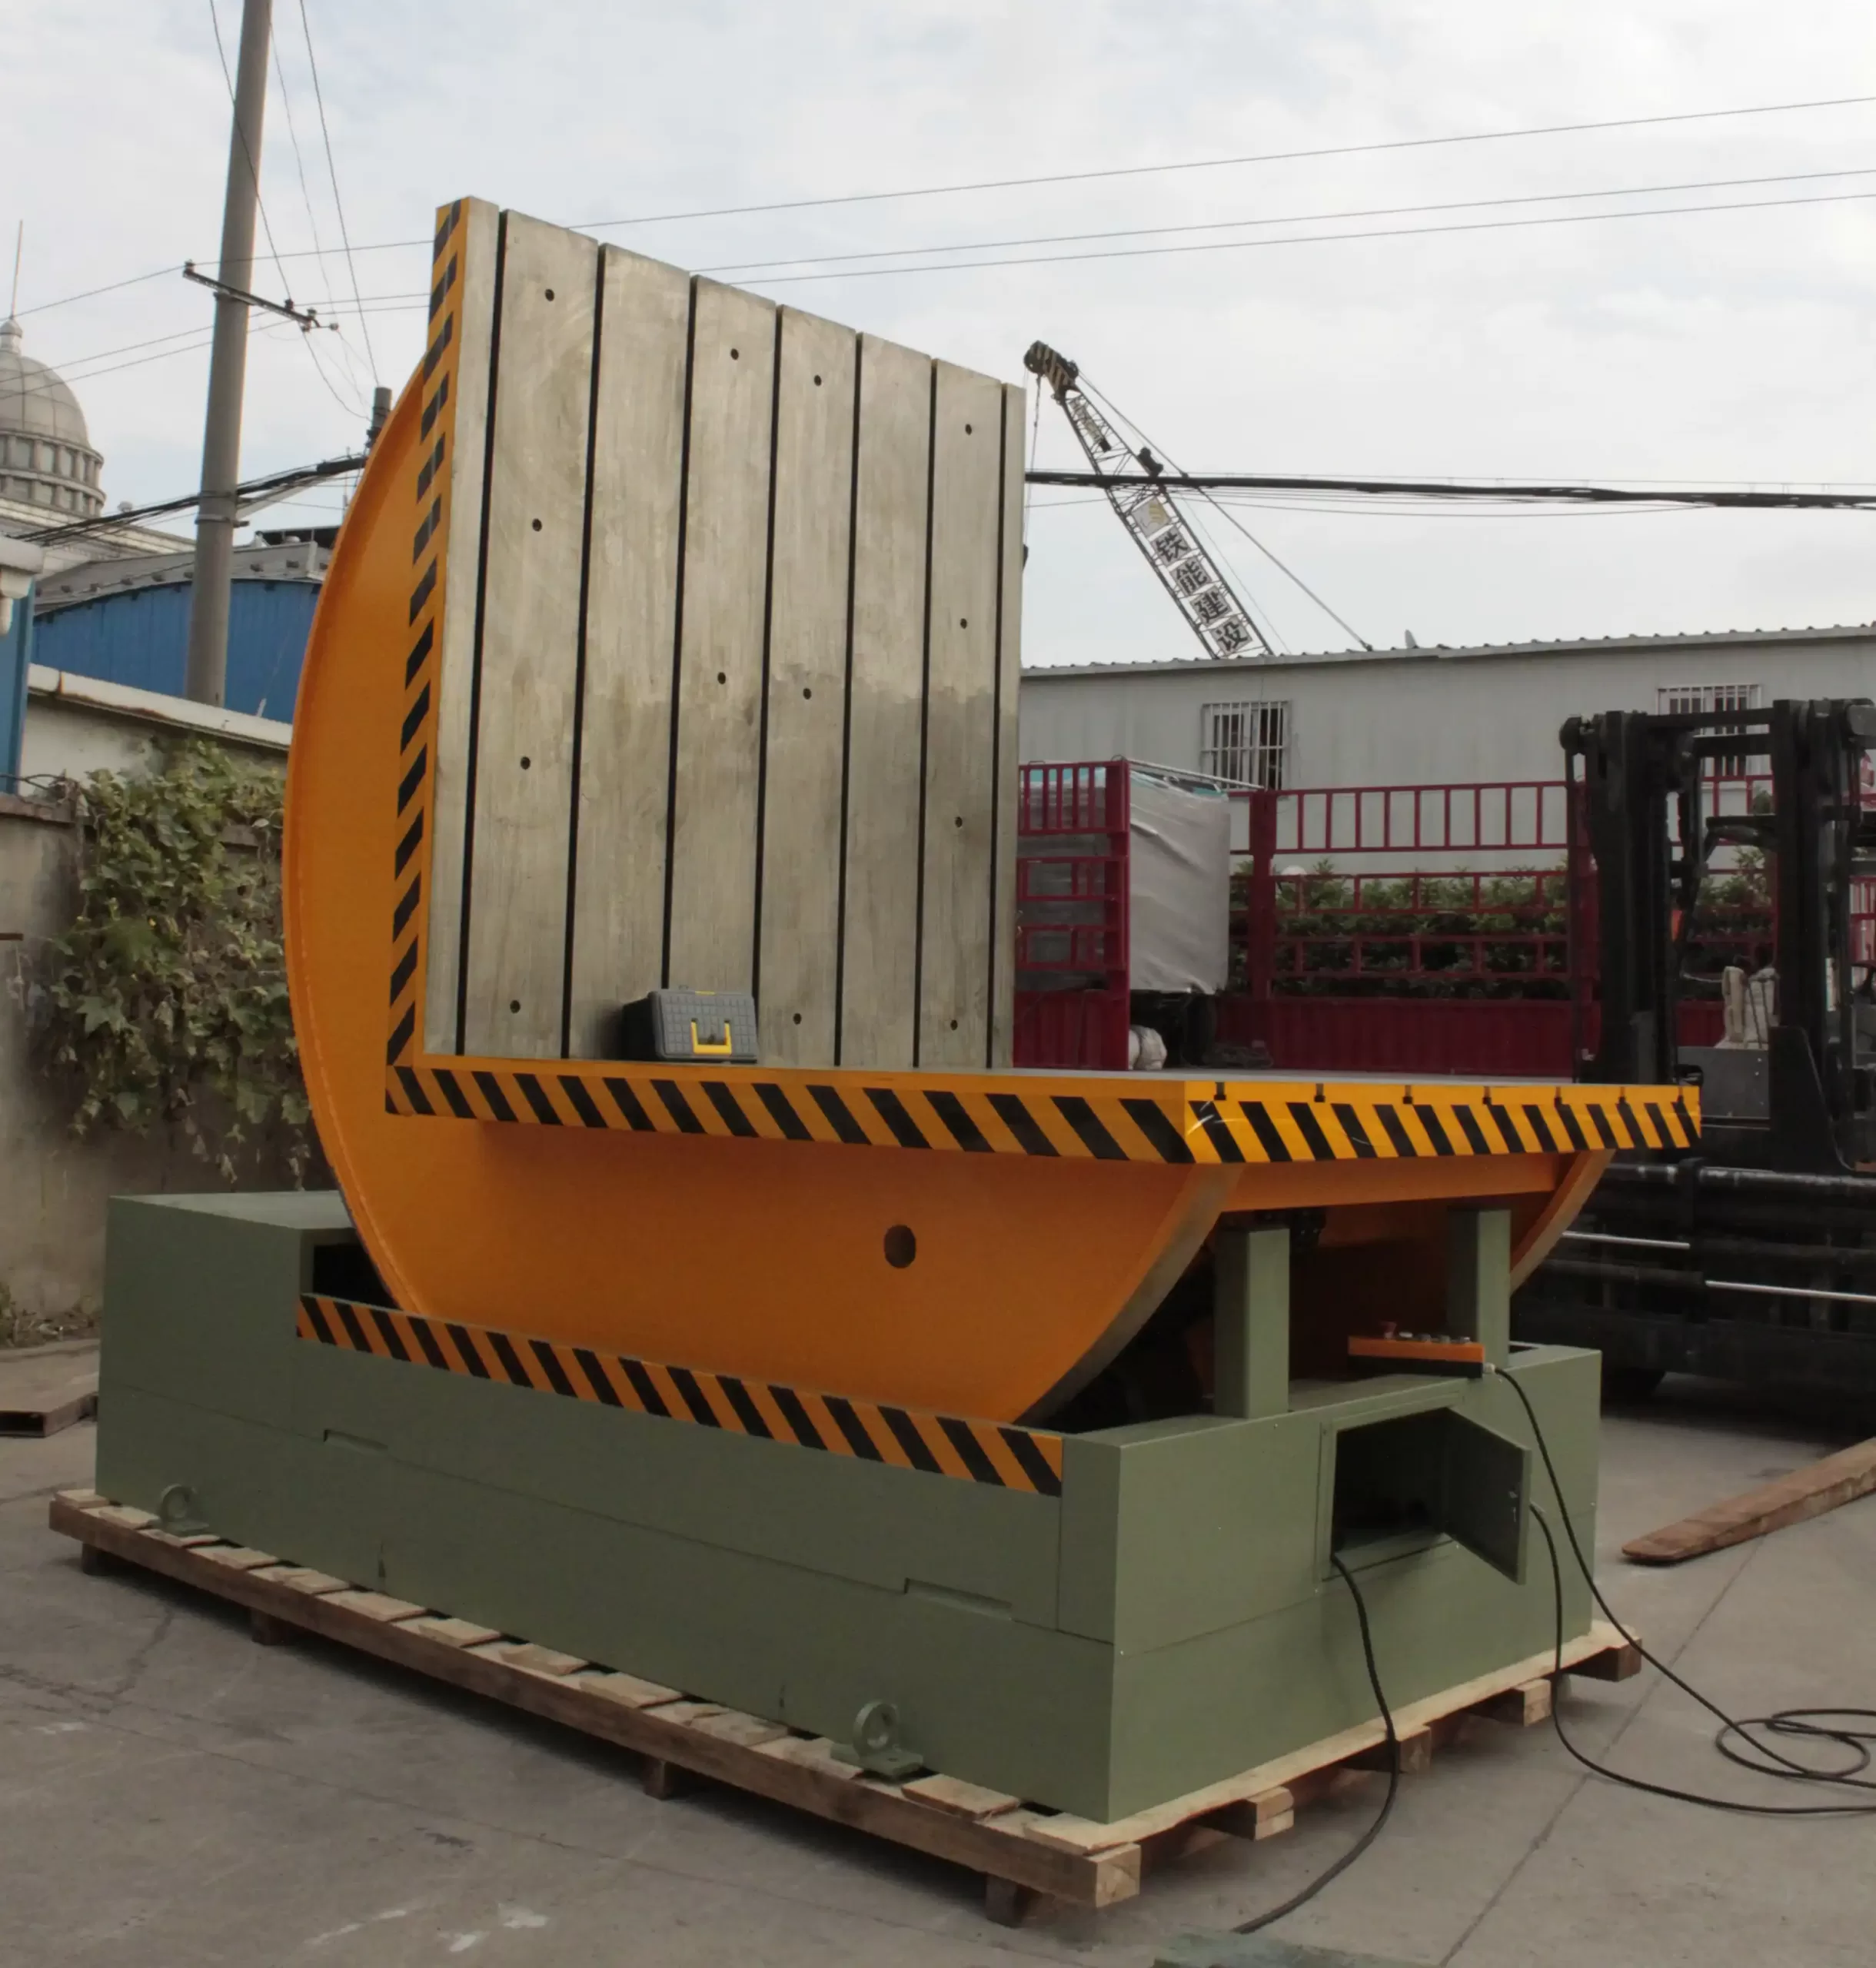
Coordinating the Arrival and Movement
Successfully navigating the delivery and internal movement requires foresight and coordination across multiple teams.
Start by establishing clear communication channels with your supplier’s project manager. Confirm the exact delivery date and estimated time of arrival (ETA). Understand the delivery terms – who is responsible for unloading? Will the supplier’s technicians be present to supervise unloading and installation, and is this part of your contract? Scheduling these resources well in advance is critical.
Next, meticulously evaluate the physical access route. Request the shipping dimensions (including crating) of the largest piece of the mold upender from your supplier. Measure the width and height of all potential entry points – loading dock doors, main factory entrances, internal doorways. Compare these measurements carefully. If standard access points are too small, identify alternatives, which might involve temporary modifications like removing door frames or even sections of a wall (plan this well ahead!).
The right equipment for unloading and moving is non-negotiable. Determine the weight of the heaviest component. Ensure you have access to forklifts or an overhead crane with sufficient lifting capacity. Verify load ratings and ensure equipment certifications are up-to-date. Don’t forget auxiliary tools like heavy-duty slings, spreader bars (if needed for balanced lifts), machine skates or rollers for moving across the floor, and crowbars for fine positioning. Ensure operators are trained and certified for the specific equipment being used.
Map the entire path the equipment will take from the delivery truck to the installation pad. Walk the route, identifying and removing any potential obstacles – stored materials, temporary structures, parked equipment, low-hanging utilities. Consider floor protection if moving heavy loads over sensitive surfaces. Communicate the transport plan, including timing and the specific route, to all relevant departments (production, maintenance, safety) to ensure the area is clear and personnel are aware. Designate spotters to guide the movement and ensure safety protocols are followed rigorously.
Finally, develop a contingency plan. What happens if the delivery truck is delayed? What if unexpected obstacles are encountered? Do you have a secure, dry, and accessible temporary storage location if immediate installation isn’t possible? Having a Plan B minimizes disruption if the primary plan encounters issues.
Installation Execution and Safety Protocols
The mold upender has arrived, and the site is prepped. Now comes the critical installation phase where precision and safety are paramount. Improper handling, incorrect positioning, or faulty connections can lead to equipment malfunction, invalidate warranties, or worse, cause serious accidents. How do you ensure a safe, accurate, and efficient installation?
Successful installation execution demands strict adherence to both the manufacturer’s installation manual and your facility’s established safety protocols (including Lockout/Tagout procedures). Ensure the designated installation pad is confirmed level and clean before positioning begins. Use appropriate rigging and handling techniques to carefully place and securely anchor the equipment as specified. All utility connections – electrical power, pneumatic lines, and any control/data cables – must be performed by qualified, licensed personnel and double-checked against schematics before initial power-up.
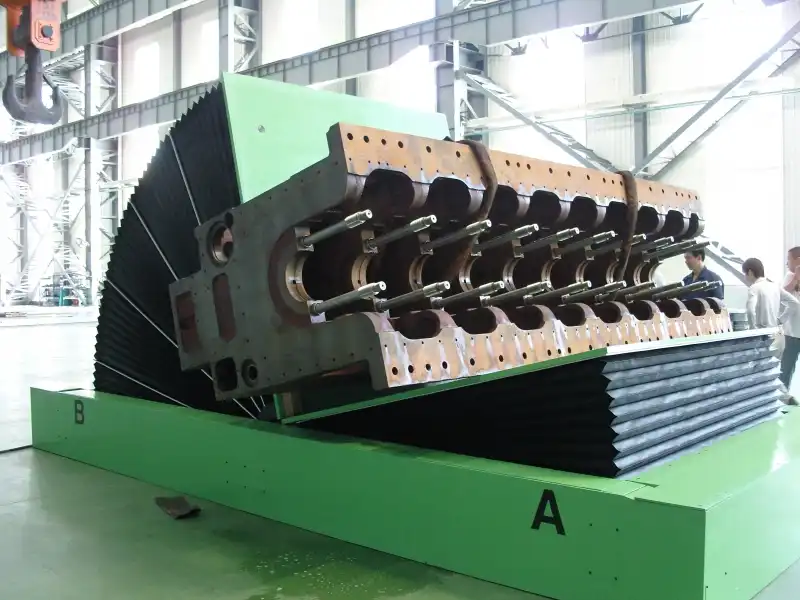
Ensuring Safe and Accurate Installation
This phase transitions from planning to hands-on execution, requiring careful attention to detail at every step.
Adherence to Safety Standards (Internal & Supplier)
Safety is the top priority. Before work begins, hold a pre-installation safety briefing with everyone involved (internal team, supplier technicians, contractors).
- Review Procedures: Discuss specific hazards associated with moving and installing heavy equipment, required Personal Protective Equipment (PPE – hard hats, steel-toed boots, gloves, safety glasses), and emergency procedures.
- Supplier Guidelines: Strictly follow the installation procedures outlined in the manufacturer’s manual. Deviations should only occur with explicit supplier approval.
- Internal Safety Rules: Ensure all personnel, including external technicians, are aware of and comply with your plant’s specific safety rules, such as Lockout/Tagout (LOTO) requirements before making any utility connections, confined space entry protocols if applicable, and hot work permits if welding or cutting is needed. Ensure supplier personnel have provided necessary insurance documentation and completed any required site-specific safety training.
Levelling, Anchoring, and Positioning
Correct placement is crucial for operational stability and longevity.
- Final Placement: Carefully move the upender onto its designated pad using the planned handling equipment.
- Levelling: Once positioned, re-verify that the machine is perfectly level using precision levels on the designated machine surfaces. Make necessary adjustments using shims or leveling feet as per the manufacturer’s instructions. This prevents frame twisting and ensures smooth operation.
- Anchoring: Securely anchor the machine to the foundation using the correct type, size, and grade of anchors specified by the supplier. Ensure anchor bolts are torqued to the recommended specifications. Proper anchoring prevents movement during operation, especially critical for dynamic loads.
Utility Hook-up and Verification
Incorrect connections can cause immediate damage.
- Qualified Personnel: Only licensed electricians should perform electrical connections. Similarly, qualified technicians should handle pneumatic and hydraulic connections.
- Verification: Double-check that the supplied voltage matches the machine’s rating plate. Verify correct phasing and grounding. Ensure pneumatic lines are connected to the correct ports and pressure settings are accurate. Trace all connections against the provided schematics.
- Safety Checks: Before initial power-up, perform all pre-start checks recommended by the manufacturer. Ensure all guards are in place and safety circuits (e-stops, interlocks) are functional.
Commissioning and Testing Procedures
This step validates the installation and ensures the equipment functions as intended.
- Supplier Involvement: Ideally, the supplier’s technicians should lead or supervise the commissioning process.
- Initial Tests: Power up the machine and perform basic functional tests in sequence (e.g., power on, control system boot-up, manual movements at slow speed).
- Load Testing: If feasible and safe, conduct tests with representative molds (or equivalent weights) to verify tilting mechanisms, clamping forces, and overall stability under operational load.
- Troubleshooting: Allow ample time for troubleshooting any issues identified during commissioning with the supplier’s technicians still on site. Document any adjustments or fixes.
| Installation Phase Task | Key Action | Responsibility | Verification Method | Status |
|---|---|---|---|---|
| Safety Briefing | Review procedures, PPE, LOTO | Site Lead / Safety | Attendance Log, Briefing Record | Completed |
| Positioning & Levelling | Place on pad, check levelness, adjust | Installation Team | Precision Level Readings | Completed |
| Anchoring | Install specified anchors, torque correctly | Installation Team | Torque Wrench Calibration/Reading | Completed |
| Electrical Connection | Connect power, ground, verify voltage/phase | Licensed Electrician | Multimeter Readings, Schematic Check | Completed |
| Pneumatic Connection | Connect air lines, verify pressure | Technician | Pressure Gauge Reading, Leak Test | Completed |
| Initial Function Test | Power up, check controls, manual movements | Supplier Tech/Team | Observation, Control Feedback | Completed |
| Load Test (if applicable) | Operate with representative mold/weight | Supplier Tech/Team | Observation, Performance Check | Completed |
| Documentation | Record deviations, adjustments, final checks | Site Lead | Installation Sign-off Report | Completed |
Following these steps meticulously ensures the mold upender is installed correctly, safely, and is ready for reliable operation.
Post-Installation Procedures and Handover
The mold upender is anchored, connected, and has passed initial tests. However, the process isn’t complete until knowledge is transferred, and long-term care is established. Effective post-installation procedures ensure your team can operate and maintain the equipment efficiently and safely, maximizing its lifespan and performance. What final steps bridge the gap between installation and routine operation?

Key post-installation activities include scheduling formal training sessions for all operators and maintenance personnel covering operation, safety features, routine checks, and basic troubleshooting across all shifts. Obtain and organize all final documentation from the supplier, including as-built drawings, operation manuals, maintenance schedules, recommended spare parts lists, and warranty information. Establish a specific Preventive Maintenance (PM) plan based on supplier recommendations and integrate it into your facility’s Computerized Maintenance Management System (CMMS). Consider scheduling a follow-up visit from the supplier’s technician after a brief operational period to address any lingering questions and fine-tune performance.
This final phase focuses on empowering your team and setting the stage for long-term success. Formal training is non-negotiable. Ensure the supplier provides comprehensive training tailored to different user groups: operators need to understand safe operating procedures, control interfaces, and routine checks; maintenance staff require deeper knowledge of mechanical components, electrical schematics, lubrication points, troubleshooting guides, and PM tasks. Schedule sessions to cover all shifts, including night shifts if applicable. Document who attended the training.
Documentation handover is critical. Collect all relevant paperwork from the supplier before they leave. This includes the final, as-installed electrical and mechanical drawings, a detailed operator’s manual, a comprehensive maintenance manual outlining required tasks and frequencies, a list of recommended spare parts (crucial for minimizing future downtime), and clear warranty documentation. Store these documents centrally, perhaps digitally, where they are easily accessible to relevant personnel.
Develop and implement a robust Preventive Maintenance program immediately. Use the supplier’s recommendations as a baseline. Assign tasks to your maintenance team and integrate the schedule into your CMMS for tracking and reminders. Inform your plant’s reliability engineer about the new equipment and its maintenance requirements. Proactive maintenance is key to preventing breakdowns and ensuring longevity.
A post-installation follow-up visit by the supplier’s technician, perhaps a few weeks after commissioning, can be highly beneficial. This allows your team to ask questions that have arisen during initial operation and provides an opportunity for the technician to observe the machine under normal conditions and make any final adjustments. This shortens the learning curve and builds confidence. Finally, formally sign off on the installation project, confirming all checklist items are complete and the equipment has been handed over to operations and maintenance.
Conclusion
Successfully installing a mold upender hinges on diligent preparation and systematic execution. From verifying Facility readiness—including floor capacity, clearances, and utilities—to meticulous delivery logistics, precise installation execution, and thorough post-installation training and documentation, each step is crucial. Utilizing a comprehensive checklist minimizes risks, prevents costly delays, and ensures the equipment integrates seamlessly into your operations. Investing time in preparation pays dividends through enhanced safety, reduced downtime, and optimal performance of your new mold upender. This structured approach transforms a complex project into a manageable process, safeguarding your investment and boosting operational efficiency.


