A five‑minute, step‑by‑step verification routine for conveyors, mixers, press brakes, and wrapping machines. Designed to catch the most common early‑stage failures—based on field experience from a manufacturer’s representative with over 88 years of service—this checklist reduces unplanned downtime and maintains safety compliance. Each item has objective pass/fail criteria, and we highlight the five checks most frequently missed by experienced operators.
🛠️ Scope
This checklist covers the four most common categories of industrial equipment found on a typical manufacturing floor: material handling (conveyors, pallet/coil wrappers), metal forming (hydraulic press brakes, shears), mixing equipment (double‑arm mixers, drum tumblers), and machine tools (CNC, ironworkers). It is written for operators, team leads, and maintenance technicians and assumes a shift‑handover or daily start‑up routine. Each check takes no more than five to ten minutes per machine and focuses on visual inspection, simple function tests, and verification of safety devices. For equipment not listed, apply the same logic: look for wear, listen for abnormal noise, and confirm guards are in place. This checklist does not replace a full preventive maintenance schedule; it is a pre‑shift verification that catches sudden failures and operator‑level issues. All pressure, gap, and tension values are typical estimates for medium‑duty equipment; always verify against the original equipment manufacturer (OEM) manual. For any check that requires power to be active, follow Lockout/Tagout (LOTO) procedures and manufacturer instructions.
| Equipment Type | Typical Checks (examples) |
|---|---|
| Conveyor belts | Tracking, belt tension, roller rotation, emergency stops |
| Industrial mixers | Seal integrity, motor coupling, safety interlocks, discharge valve |
| Hydraulic press brakes | Fluid level, pressure set point, ram alignment, light curtain |
| Shears | Blade sharpness, hold‑down clamp condition, light curtain |
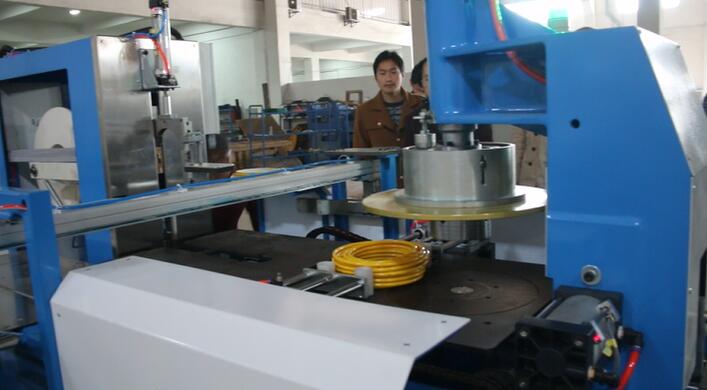
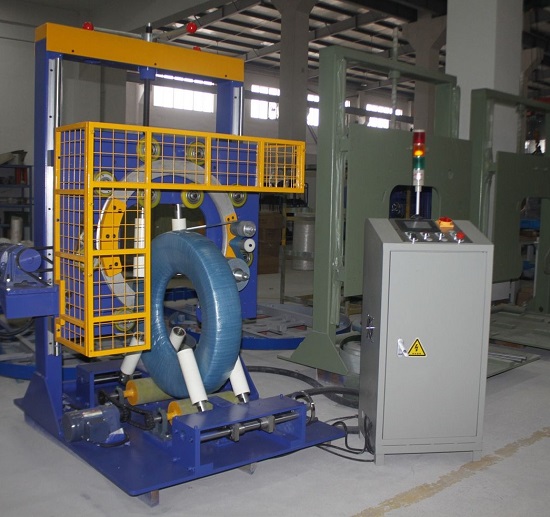
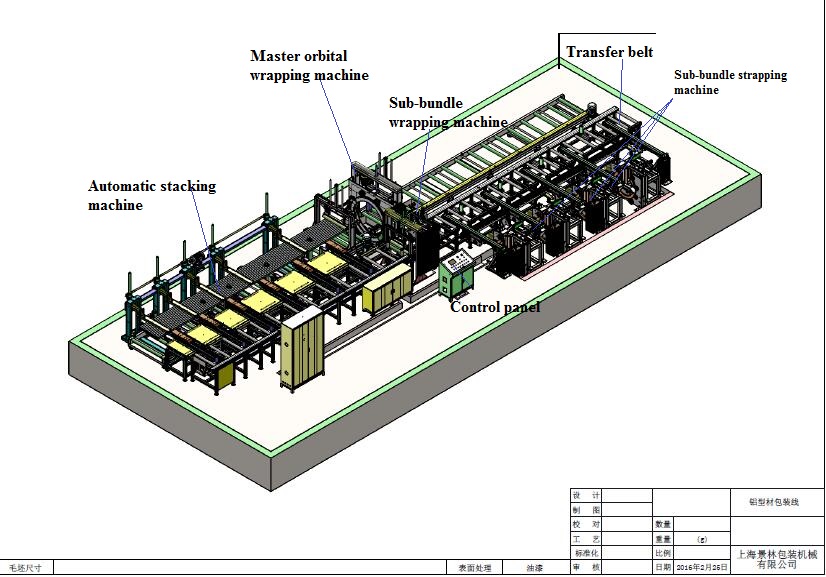
| Wrapping machines | Film tension, rotating ring clearance, photocell function |
🏗️ Checklist Body
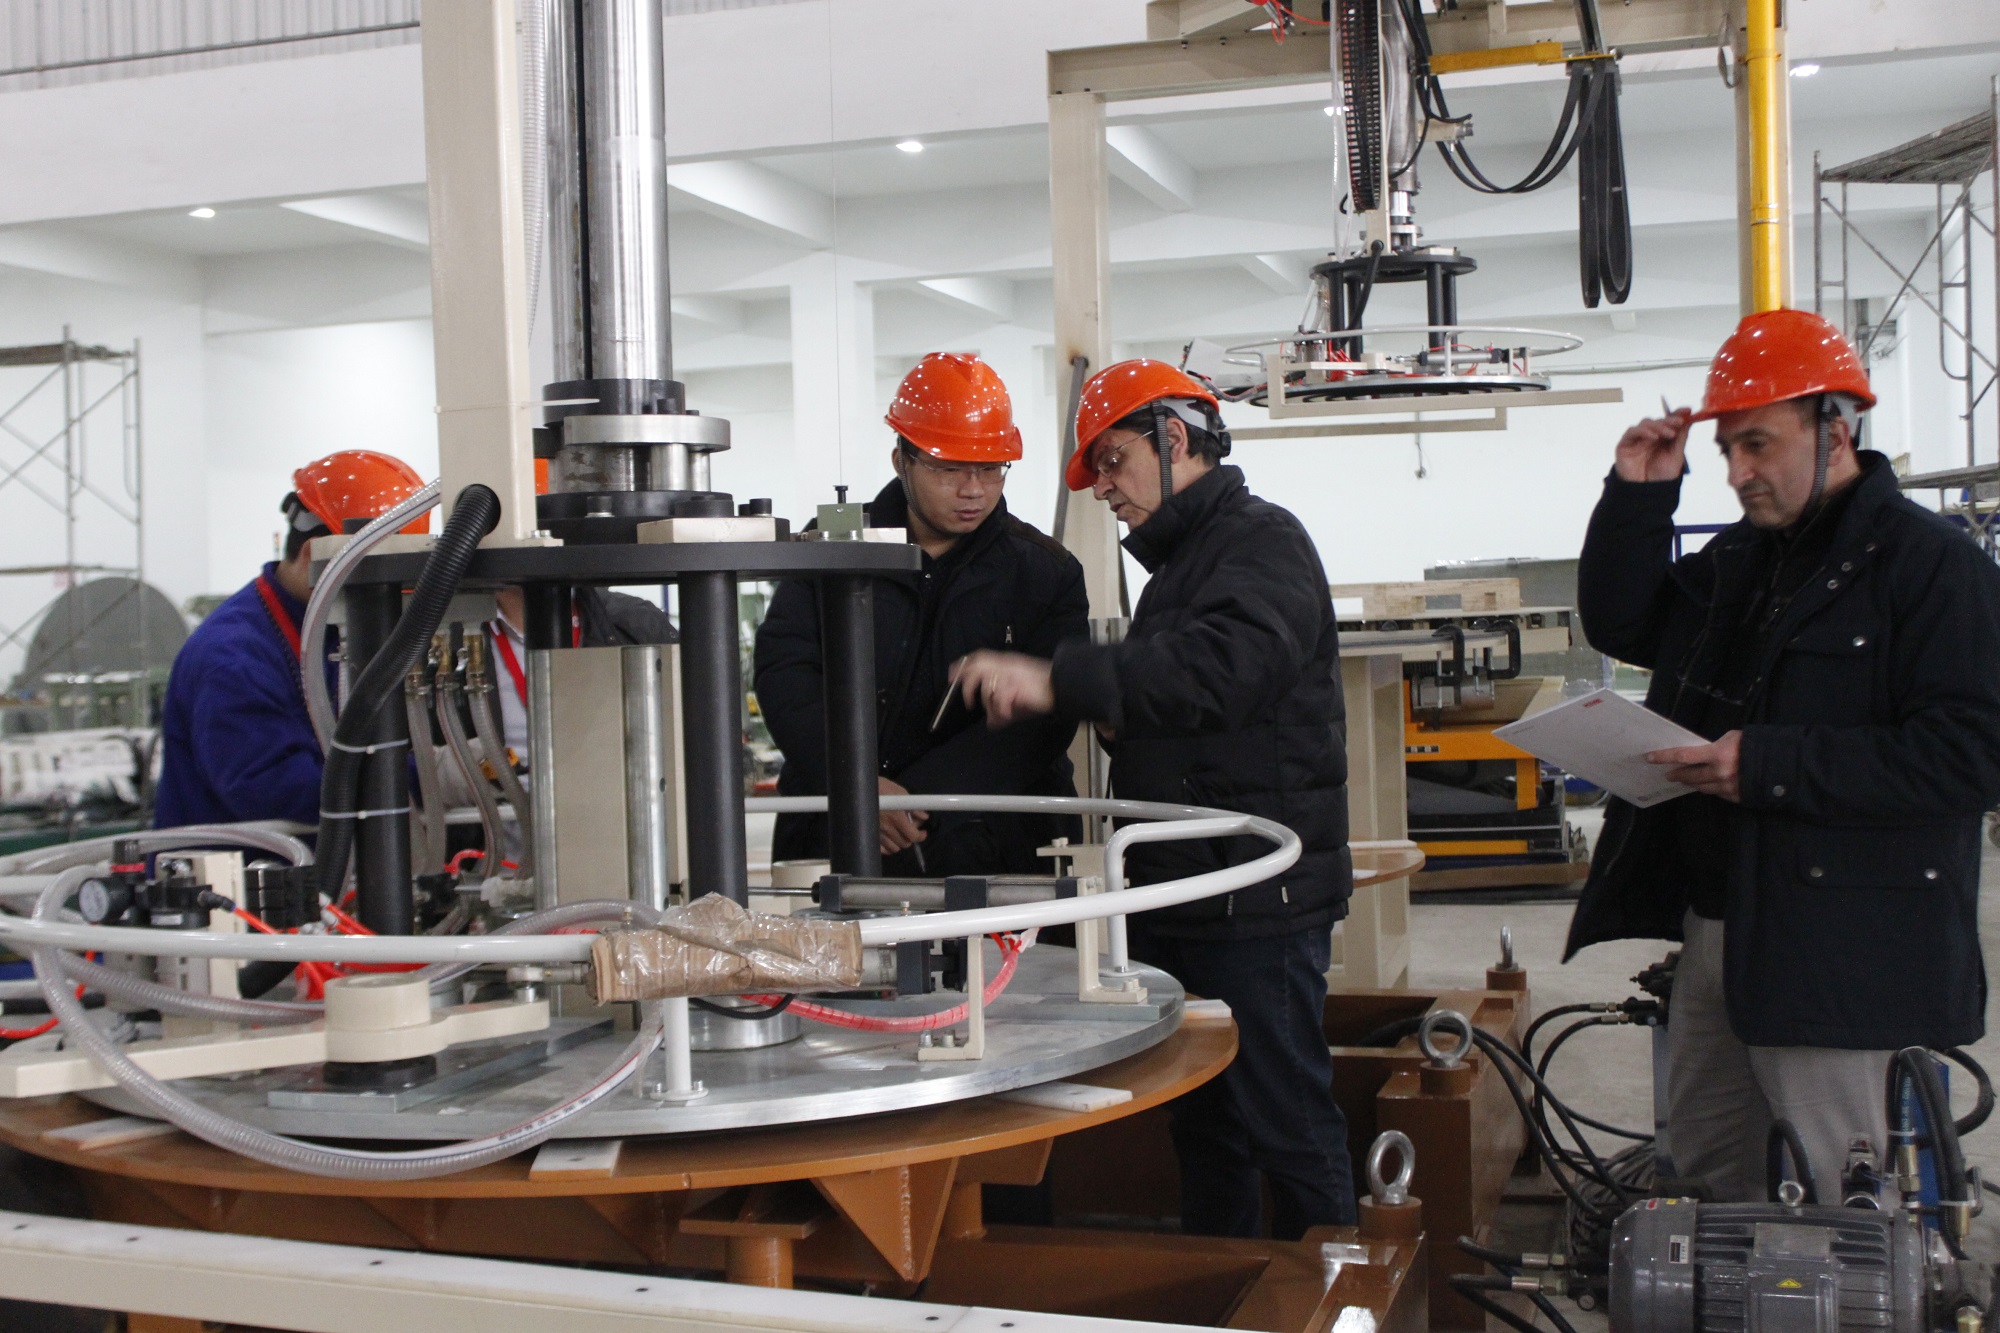
Perform each check in the order listed. Tick the box when complete and note any failures. All checks assume the machine is at rest and isolated from power unless stated otherwise.
Conveyor Belt Pre‑Shift Check
-
[ ] Visual walk‑down – Inspect belt for cuts, fraying, or missing cleats along the entire length, including the underside.
-
[ ] Tracking – Run belt empty; deviation from center should be less than 1/8 inch (typical industrial tolerance for belts up to 24‑inch width; scale proportionally for wider belts).
-
[ ] Tension – Belt sag at midpoint between idlers should be 0.5–1.5% of span length (use a ruler or tension gauge; verify with OEM manual).
-
[ ] Roller rotation – Spin each idler roller by hand; any roller that does not turn freely or makes a scraping sound must be replaced.
-
[ ] Emergency stop – Activate and reset each pull‑cord and e‑stop; machine must stop within 0.5 seconds of activation.
-
[ ] Guard interlocks – Open access doors; machine should not start or should immediately stop.
Industrial Mixer (Double Arm / Drum Tumbler) Pre‑Shift Check
-
[ ] Seal condition – Check for oil or product leakage around the main shaft seal and lid gasket. Any wetness is fail – do not start.
-
[ ] Motor coupling – With power off, rock the coupling by hand; excessive axial play (>1 mm) indicates worn bushings (typical estimate; consult OEM spec).
-
[ ] Safety interlock – Open the lid or cover; the motor must not run with the guard open.
-
[ ] Discharge valve – Cycle the valve (hand or pneumatic) full open/closed; confirm no sticking and full closure (verify with supplier specification or indicator lights).
-
[ ] Noise check – Start the mixer high‑speed momentarily (no load). A grinding or clattering sound requires investigation.
Hydraulic Press Brake Pre‑Shift Check
-
[ ] Fluid level – Hydraulic oil tank sight glass should show between min and max marks at room temperature.
-
[ ] Pressure set point – With pump running but ram stopped, system pressure should match the nameplate setting ± 5 bar (verify with gauge; typical estimate for medium‑duty equipment).
-
[ ] Ram alignment – Raise the ram to mid‑stroke. Measure gap between ram and bed at both ends using a feeler gauge; difference should be ≤ 0.004 inches per foot of bed length (typical estimate; check OEM manual).
-
[ ] Light curtain / safety guard – Break the beam with a hand; ram must stop instantly and not respond until reset.
-
[ ] Back gauge – Move it to a known position (e.g., 100 mm) and measure actual position with a tape; tolerance ± 0.5 mm (typical; refer to OEM spec).
Pallet / Coil Wrapping Machine Pre‑Shift Check
-
[ ] Film carriage travel – Move carriage up and down entire stroke; listen for binding and ensure chain or cable is not slack.
-
[ ] Photocell – Wave a hand in front of the start sensor; the machine should begin wrap cycle. Common fail point: dirty lens.
-
[ ] Turntable rotation – Operate at low speed; the table should not wobble or hesitate.
-
[ ] Safety barriers – Open the gate; rotation must stop. Confirm reset button works.
📈 Pass/Fail Criteria
Each item has an objective pass condition. If a check fails, tag the machine with a “DO NOT OPERATE” lockout and notify maintenance immediately. The table below summarizes the key criteria. All numerical values are typical estimates for medium‑duty equipment; always verify with the OEM manual.
| Check Item | Pass Condition | Fail Condition |
|---|---|---|
| Conveyor belt tracking | Deviation ≤ 1/8 inch | Belt touches frame or edge damage visible |
| Mixer shaft seal | Dry, no visible leaks | Dampness, drips, or oil sheen on shaft |
| Press brake hydraulic pressure | Within ±5 bar of nameplate value | Reading below 80% of spec |
| Press brake ram alignment | Gap difference ≤ 0.004 in/ft | Gap difference > 0.010 in/ft (risk of tool crash) |
| Wrapping machine photocell | Sensor triggers reliably after wiping | No response or intermittent trigger |
| Emergency stop (general) | Machine stops within 0.5 seconds | Does not stop, or stops after >1 second |
| Safety interlock (all) | Machine cannot run when guard is open | Motor starts or continues running with guard open |
Key Point: For any pass/fail that involves measurement (pressure, gap, tension), refer to the original equipment manufacturer’s manual for exact numbers. The values above are typical estimates for medium‑duty equipment in light industrial settings.

🛡️ Commonly Missed Items
Based on field experience from distributors serving chemical, refining, and power industries, the following five checks are the most frequently skipped by operators. They cause the highest unscheduled downtime and safety near‑misses.
-
Oil level in gearboxes and seals – Operators rely on sight glasses, but many are dirty or located on the back side. Wipe the glass and check. Low oil is the #1 cause of gearbox failure, according to field data.
-
Air line filters and water traps – On pneumatic equipment (clamps, valves, wrapping machine film carriage), a clogged filter or full water trap starves the system of clean air. Always drain the trap before the shift, not after a problem appears.
-
Belt fasteners / lacing – On conveyor belts, failed mechanical fasteners are often hidden inside the belt path. Walk the full loop and feel for sharp edges. A loose fastener will tear the belt within minutes.
-
Floor anchoring – Machine vibration can loosen bolts over months. Use a wrench to check four bolts on the machine base. A wobbling machine creates misalignment and accelerates wear.
-
Emergency stop reset procedure – Many operators assume pressing the stop button once resets the machine. In reality, most industrial equipment requires a manual twist and pull or a separate reset button. Failure to reset correctly leads to “machine won’t start” calls.
Tip: Print this checklist and laminate it. Place it on a clipboard at each machine station. At the end of the shift, the operator signs off that all checks passed or that a tag was placed. This creates a verifiable log for preventive maintenance planning and OSHA compliance.
⚙️ Purchase‑Decision Checklist (When to Replace vs. Repair)
A machine that fails multiple pre‑shift checks repeatedly may be nearing end of life. Use this checklist during annual equipment review to decide whether to invest in a new unit. Each item answered “No” points toward replacement. All downtime reduction calculations should be derived from shift log data.
-
[ ] Does the machine hold its pass/fail criteria for three consecutive shifts?
-
[ ] Are spare parts still available from the original manufacturer?
-
[ ] Is the total repair cost (parts + labor) estimated at less than 50% of a new machine’s price?
-
[ ] Can a new machine reduce downtime by ≥20% based on your shift log data? (To calculate, compare total downtime hours for the current machine over the last three months to the estimated downtime hours of a new machine using OEM reliability data.)
-
[ ] Does the current machine comply with current safety standards (e.g., retrofitting light curtains feasible)?
-
[ ] Is the energy efficiency (kWh per unit output) still competitive with newer models?
If you answered “No” to three or more, begin a capital equipment request. If you answered “No” to the spare parts question, replacement is urgent—once parts disappear, downtime becomes indefinite.

🛠️ Frequently Asked Questions
Q: How long should a pre‑shift check take?
Total for a single machine should be 5–10 minutes. Any longer indicates the checklist is too detailed or the machine needs repair.
Q: Who should perform the checks?
The operator assigned to that machine. Maintenance should only be called when a pass/fail item fails.
Q: We have 20 different machines – do we need a separate checklist for each?
Group identical machines. For different types, use the generic categories in this article and note model‑specific values from the manual. Laminate a master sheet.
Q: What if my supplier’s manual doesn’t list a tracking tolerance?
Use the 1/8‑inch standard for 24‑inch belts; scale proportionally (e.g., 1/4 inch for 48‑inch belt). Label as “estimated field practice.”
All numbers in this article are typical estimates unless explicitly stated as manufacturer specs. This checklist is a guide and not a substitute for OEM procedures or professional engineering judgment. Always verify with your equipment’s original documentation.