
What Flooring and Foundation are Needed for Heavy Mold Upenders?
Installing heavy industrial machinery like mold upenders presents significant challenges. Failure to provide adequate support risks catastrophic equipment failure, operational downtime, and serious safety hazards. Understanding the critical requirements for both the underlying foundation and the working floor surface is essential to ensure stability, longevity, and safe operation.

Heavy mold upenders demand robust, specifically engineered foundations, typically reinforced concrete slabs ranging from 6 to over 12 inches thick, meticulously designed to handle substantial static and dynamic loads. The flooring atop this foundation must be exceptionally durable, non-slip, impact-resistant, and capable of withstanding concentrated loads from molds and transport equipment. Proper geotechnical analysis and adherence to strict foundation engineering principles are non-negotiable for safe, vibration-minimized, long-term operational stability.
Choosing the wrong specifications can lead to costly repairs, compromised safety, and inefficient operations. This guide delves into the crucial details of foundation design and flooring selection specifically tailored for the demanding environment surrounding heavy mold upenders. Let’s explore the engineering principles and material science involved.
Essential Foundation Engineering for Mold Upender Stability
The foundation serves as the critical base supporting the immense weight and operational forces of a heavy mold upender. Inadequate design or construction compromises the entire system, leading to instability, excessive vibration, premature wear on the upender, and potentially severe structural issues. This section outlines the vital engineering considerations, from understanding soil mechanics to calculating load capacities, ensuring your valuable mold upender investment is built on a solid, reliable base designed for intense industrial use.
Foundation engineering for heavy mold upenders revolves around creating an exceptionally rigid and stable mass capable of supporting significant static weight while effectively absorbing and dissipating the dynamic forces generated during tilting cycles. This process begins with comprehensive geotechnical surveys to accurately determine the soil’s bearing capacity, potential for settlement, and the water table level. The foundation design must precisely account for the specific upender’s operational weight, its maximum rated load (mold weight), and the complex kinetic forces exerted during movement. Reinforced concrete is the standard material, often necessitating slab thicknesses ranging from 8 inches to well over 12 inches (200mm – 300mm+), depending heavily on the machine’s size, the load capacity, and the underlying soil conditions. Detailed engineering calculations must factor in both static loads (machine + maximum mold) and dynamic loads (inertial forces, potential shock loads during tilting). Appropriate reinforcement using engineered rebar grids (e.g., #5 or #6 bars) is indispensable for managing tensile stresses and preventing cracking under load. Vibration isolation pads may also be integrated beneath the machine base to minimize the transmission of operational vibrations to adjacent structures and equipment.

Critical Design Factors for Mold Upender Foundations
Designing a foundation for heavy machinery like a mold upender is a specialized engineering task. Several critical factors must be meticulously analyzed and incorporated into the design to ensure safety, stability, and long-term performance.
-
Geotechnical Investigation: Before any concrete is poured, a thorough soil investigation (geotechnical survey) is essential. This report provides critical data on:
- Soil Bearing Capacity: The maximum pressure the soil can safely withstand without excessive settlement. This dictates the required foundation footprint size.
- Soil Composition: Understanding if the soil is cohesive (like clay) or granular (like sand/gravel) affects design choices.
- Water Table Level: High water tables may require specialized de-watering during construction and potentially different foundation designs or waterproofing measures.
- Potential Contaminants: Soil contaminants could affect concrete longevity or require specific site remediation.
-
Load Analysis: Accurately determining all potential loads is paramount.
- Static Loads: This includes the dead weight of the mold upender itself plus the maximum weight of the heaviest mold it is designed to handle. Manufacturer specifications are crucial here.
- Dynamic Loads: These are forces generated during operation, primarily the tilting motion. Inertia, acceleration/deceleration forces, and potential shock loads (e.g., sudden stops) must be considered. Engineers often apply a dynamic load factor (e.g., 1.5 to 2.5 times the static load) to account for these stresses. Vibrations from nearby machinery or overhead cranes might also need consideration.
-
Concrete Specification and Reinforcement: The concrete mix and reinforcement design are critical for strength and durability.
- Compressive Strength: Typically, a minimum compressive strength of 4000 PSI (pounds per square inch) or higher is specified for heavy equipment foundations.
- Reinforcement: Steel reinforcement bars (rebar) are embedded within the concrete to handle tensile forces that concrete alone cannot withstand. The size, grade, spacing, and placement (e.g., top and bottom mats) of the rebar are determined by engineering calculations based on the load analysis. Wire mesh is generally insufficient for such heavy loads.
- Slab Thickness: This is calculated based on the loads, the soil bearing capacity, and the concrete’s strength. As noted, 6 inches is a bare minimum for light equipment, with 8-12 inches or more being common for heavy upenders.
-
Foundation Geometry and Pit Requirements:
- The foundation’s dimensions (length, width, thickness) must accommodate the upender’s footprint, including any necessary clearance for maintenance access.
- If the upender is pit-mounted, the design involves excavation planning, potentially earth retention systems (like steel sheeting or soldier piles) if excavating near existing structures, de-watering strategies, and waterproofing systems for the pit walls and base.
-
Embedments and Anchor Bolts: Provisions for anchoring the upender securely are critical. This includes accurately placing anchor bolts (cast-in-place preferred for heavy dynamic loads) or designing for post-installed anchors according to manufacturer requirements. Raceways for electrical and hydraulic lines might also need to be embedded within the foundation.
| Design Factor | Key Consideration | Typical Specification/Requirement | Data Source |
|---|---|---|---|
| Soil Bearing Capacity | Max load soil can support (kPa / psf) | >150 kPa / >3000 psf (Varies greatly by site) | Geotechnical Report |
| Static Load (Total) | Upender Weight + Max Mold Weight (kg / lbs) | 5,000 – 100,000+ kg / 11,000 – 220,000+ lbs | Manufacturer Specs |
| Dynamic Load Factor | Multiplier for operational forces | 1.5 – 2.5 | Engineering Calculation |
| Concrete Strength | Minimum 28-day compressive strength (MPa / PSI) | 27.6+ MPa / 4000+ PSI | Concrete Mix Design |
| Reinforcement | Rebar size, grade, spacing (e.g., mm / # @ mm / in OC) | #5 or #6 @ 300mm (12") OC, Top & Bottom (Example) | Structural Engineer Design |
| Slab Thickness | Overall depth of concrete (mm / inches) | 200 – 300+ mm / 8 – 12+ inches | Engineering Calculation |
| Anchor Bolt Placement | Tolerance for location (mm / inches) | +/- 3mm / 1/8 inch | Manufacturer Drawings |
Failure to address any of these factors adequately can lead to foundation settlement, cracking, excessive vibration, misalignment of the upender, and ultimately, unsafe operating conditions.
Flooring Specifications: Beyond the Concrete Slab
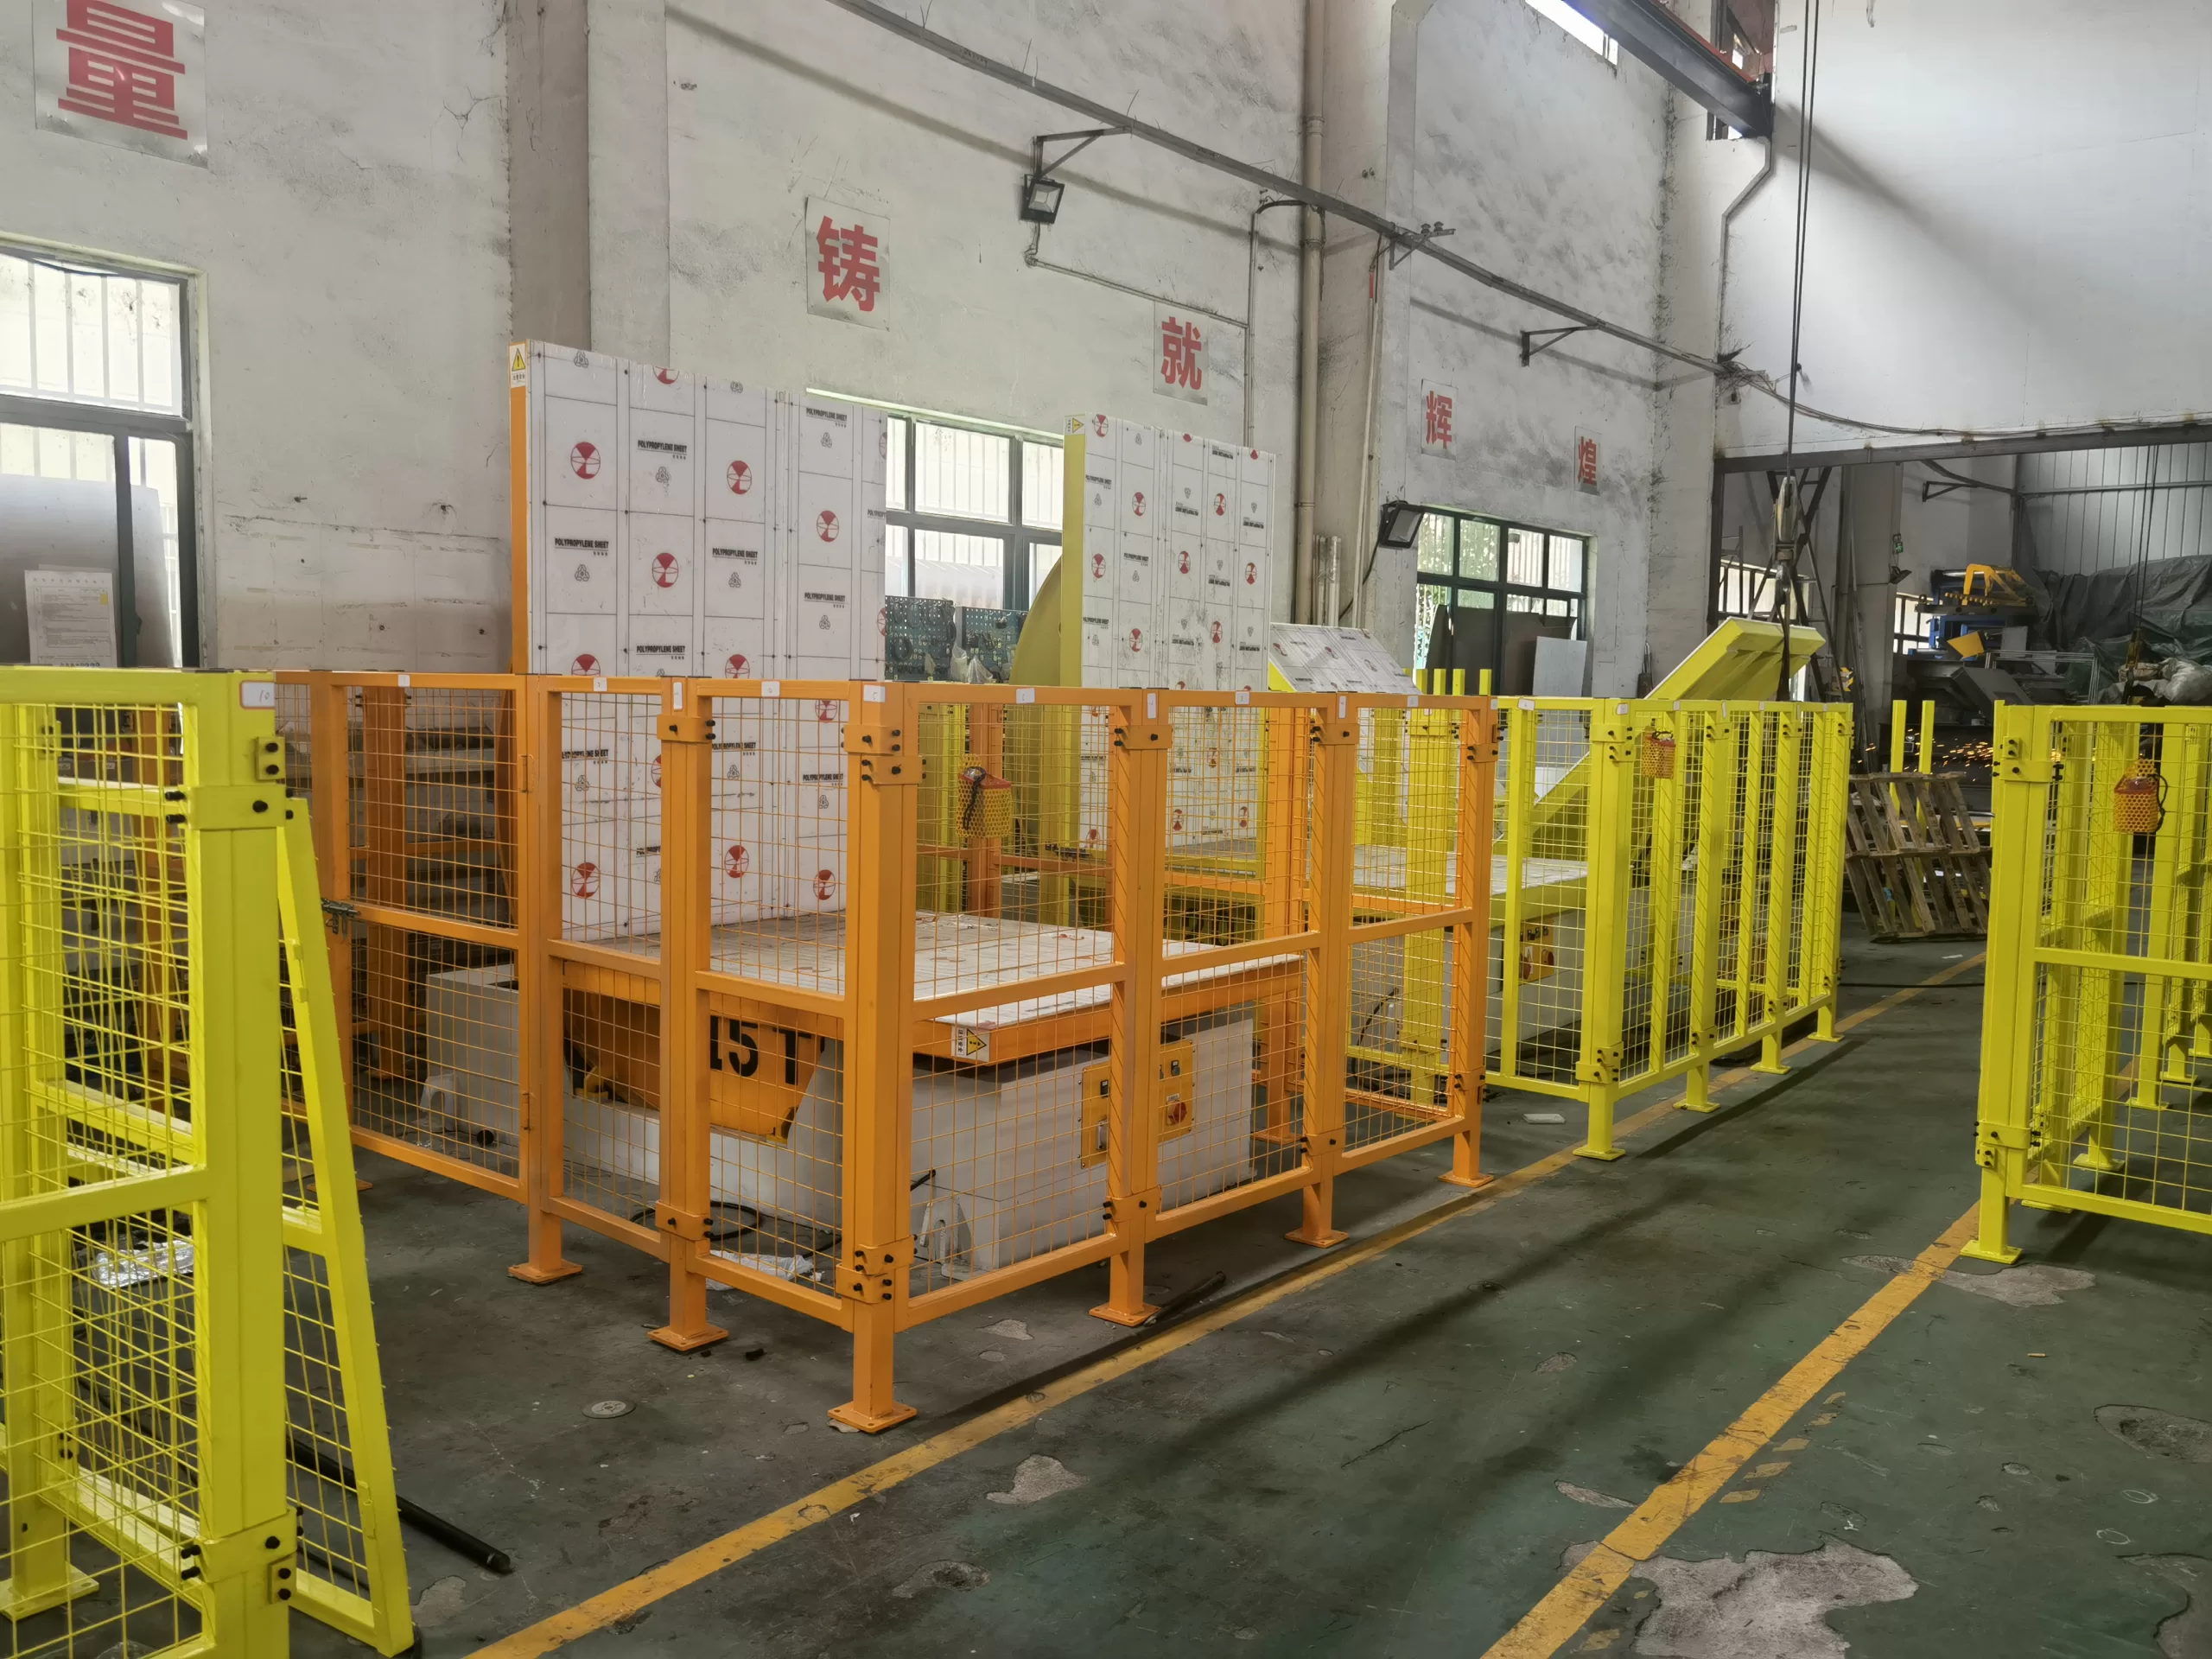
While the engineered concrete foundation provides the essential structural support, the flooring surface laid over it plays a crucial role in the day-to-day functionality, safety, and maintenance of the area around a heavy mold upender. This surface must endure constant traffic, potential impacts, spills, and provide a safe working platform for operators. Simply leaving the structural concrete bare is often insufficient for the demands of a heavy industrial environment involving mold handling.
Optimal flooring solutions for areas housing heavy mold upenders typically involve applying high-performance systems directly onto the cured structural concrete foundation. Key specifications focus on durability, impact resistance, and safety. Options include heavy-duty epoxy coatings (often multi-layered), polyurethane concrete (urethane cement) systems, or specialized heavy-duty industrial tiles. Critical performance characteristics include high compressive strength (often exceeding the base concrete), excellent abrasion resistance to withstand scraping and traffic, superior non-slip properties (measured by coefficient of friction, especially when wet or oily), and robust chemical resistance to common industrial fluids like hydraulic oils, greases, and mold release agents. The flooring must also resist damage from concentrated point loads imposed by mold transport carts, forklifts, or dropped tools.
Selecting High-Performance Flooring Systems
Choosing the right flooring system requires evaluating several material options against the specific demands of the mold upender’s operating environment.
-
Surface Requirements:
- Levelness: The underlying concrete must meet flatness tolerances (e.g., 3/16" in 10ft) before flooring application.
- Slip Resistance: This is paramount for operator safety. Look for systems meeting relevant standards (e.g., ANSI A137.1 or equivalent) and consider incorporating aggregates for enhanced texture, especially in areas prone to spills.
- Impact Resistance: The floor must withstand accidental impacts from dropped tools or molds without shattering or extensive damage.
- Abrasion Resistance: Constant foot traffic, cart wheels, and potential scraping demand high resistance to wear (tested via methods like ASTM D4060 Taber Abrasion).
- Chemical Resistance: The flooring must resist degradation from hydraulic fluids, lubricants, cleaning solvents, and potentially mold release agents. Specific chemical resistance charts should be consulted based on the chemicals used in the facility.
- Cleanability: A seamless, non-porous surface is generally easier to clean and maintain, preventing absorption of spills.
-
Material Options:
- Epoxy Coatings: These resinous systems offer good durability, chemical resistance, and a seamless finish. They come in various thicknesses (typically 1/8" to 1/4" for heavy-duty use) and formulations. Proper surface preparation is crucial for adhesion. They can be less resistant to thermal shock than urethane cement.
- Polyurethane Concrete (Urethane Cement): Considered a top-tier industrial flooring solution, urethane cement offers exceptional resistance to heavy impact, abrasion, chemical attack, and thermal shock (important if steam cleaning is used). It forms an extremely strong bond with concrete. Often used in the most demanding areas.
- Heavy-Duty Industrial Tiles: Options include thick vinyl composite tiles (VCT – less common for such heavy use), specialized rubber tiles, or interlocking polymer tiles. Tiles offer the advantage of potentially easier repair of localized damage but introduce joints that can trap dirt or fail under extreme point loads if not properly installed and specified.
- Sealed or Polished Concrete: Densifying and sealing the structural concrete can provide a durable, cost-effective surface. Polished concrete offers aesthetic appeal and good abrasion resistance. However, impact resistance might be lower compared to thicker overlay systems, and chemical resistance depends heavily on the quality and type of sealer used. This might be suitable for surrounding areas but potentially less ideal directly under the heaviest work zones.
-
Installation and Preparation: Regardless of the system chosen, success hinges on proper preparation of the concrete substrate. This includes ensuring the concrete is fully cured, clean, dry, and profiled (often via mechanical grinding or shot blasting) to achieve the necessary bond. Moisture vapor emission testing (e.g., ASTM F1869 or F2170) is often required before applying resinous coatings to prevent blistering or delamination. Always follow the specific flooring manufacturer’s installation guidelines meticulously.
The choice often involves balancing cost, performance requirements, and expected service life. For the immediate vicinity of a heavy mold upender, investing in a high-performance system like urethane cement or a robust epoxy coating is generally recommended.
Site Preparation and Installation Best Practices
Designing the perfect foundation and selecting the ideal flooring are critical steps, but their effectiveness can be nullified by inadequate site preparation and flawed installation procedures. Rushing the process or overlooking key details during this phase can lead to alignment problems, premature foundation stress, safety risks during setup, and ultimately, costly rework or compromised performance of the mold upender. Adhering to best practices ensures a smooth transition from construction to operation.
Effective site preparation is a systematic process demanding meticulous planning and execution well before the heavy mold upender arrives on site. Key activities include verifying final foundation dimensions and elevations against approved drawings, ensuring unobstructed and adequate access routes for heavy transport and rigging equipment, confirming the precise location and readiness of required utilities (electrical feeds, hydraulic lines, control conduits), and performing final checks on the foundation’s surface levelness and the accurate placement and projection of anchor bolts as specified by the upender manufacturer. Allowing the concrete foundation to achieve its full design strength through proper curing time is absolutely critical and non-negotiable before subjecting it to the massive load of the equipment.

Ensuring a Flawless Installation Environment
A successful installation depends on controlling the environment and adhering to precise procedures.
-
Pre-Installation Verification:
- Documentation Review: Cross-reference the final foundation drawings, upender installation manual, and site assessment reports. Confirm all dimensions, clearances (overhead and surrounding), and utility connection points.
- Access Confirmation: Physically walk the delivery path and rigging area. Identify and mitigate any potential obstructions (doorway heights, aisle widths, existing equipment). Ensure ground conditions can support delivery trucks and cranes.
- Foundation Readiness: Visually inspect the cured concrete foundation for any obvious defects (large cracks, spalling). Verify its dimensions, flatness/levelness within tolerance, and crucially, the location and projection height of the anchor bolts against the manufacturer’s template or drawings.
-
Concrete Curing: This cannot be rushed. Most concrete mixes require a minimum of 28 days under proper moisture and temperature conditions to reach their specified design compressive strength. Installing heavy, dynamic equipment prematurely can overstress the still-developing concrete, leading to micro-cracking or long-term durability issues. Confirm curing time and strength gain through testing if necessary (e.g., cylinder break tests).
-
Anchor Bolt Management:
- Accuracy: Anchor bolt placement is critical for aligning the upender. Use manufacturer-supplied templates meticulously during the concrete pour (for cast-in-place bolts).
- Type: Cast-in-place anchor bolts (J-bolts or headed studs) are generally preferred for heavy dynamic loads due to their superior embedment. Post-installed anchors (heavy-duty epoxy or mechanical expansion anchors) might be used in some cases but require careful engineering approval and precise installation according to their specific requirements.
- Protection: Protect anchor bolt threads during concrete pouring and finishing. Ensure they are clean and undamaged before installation.
-
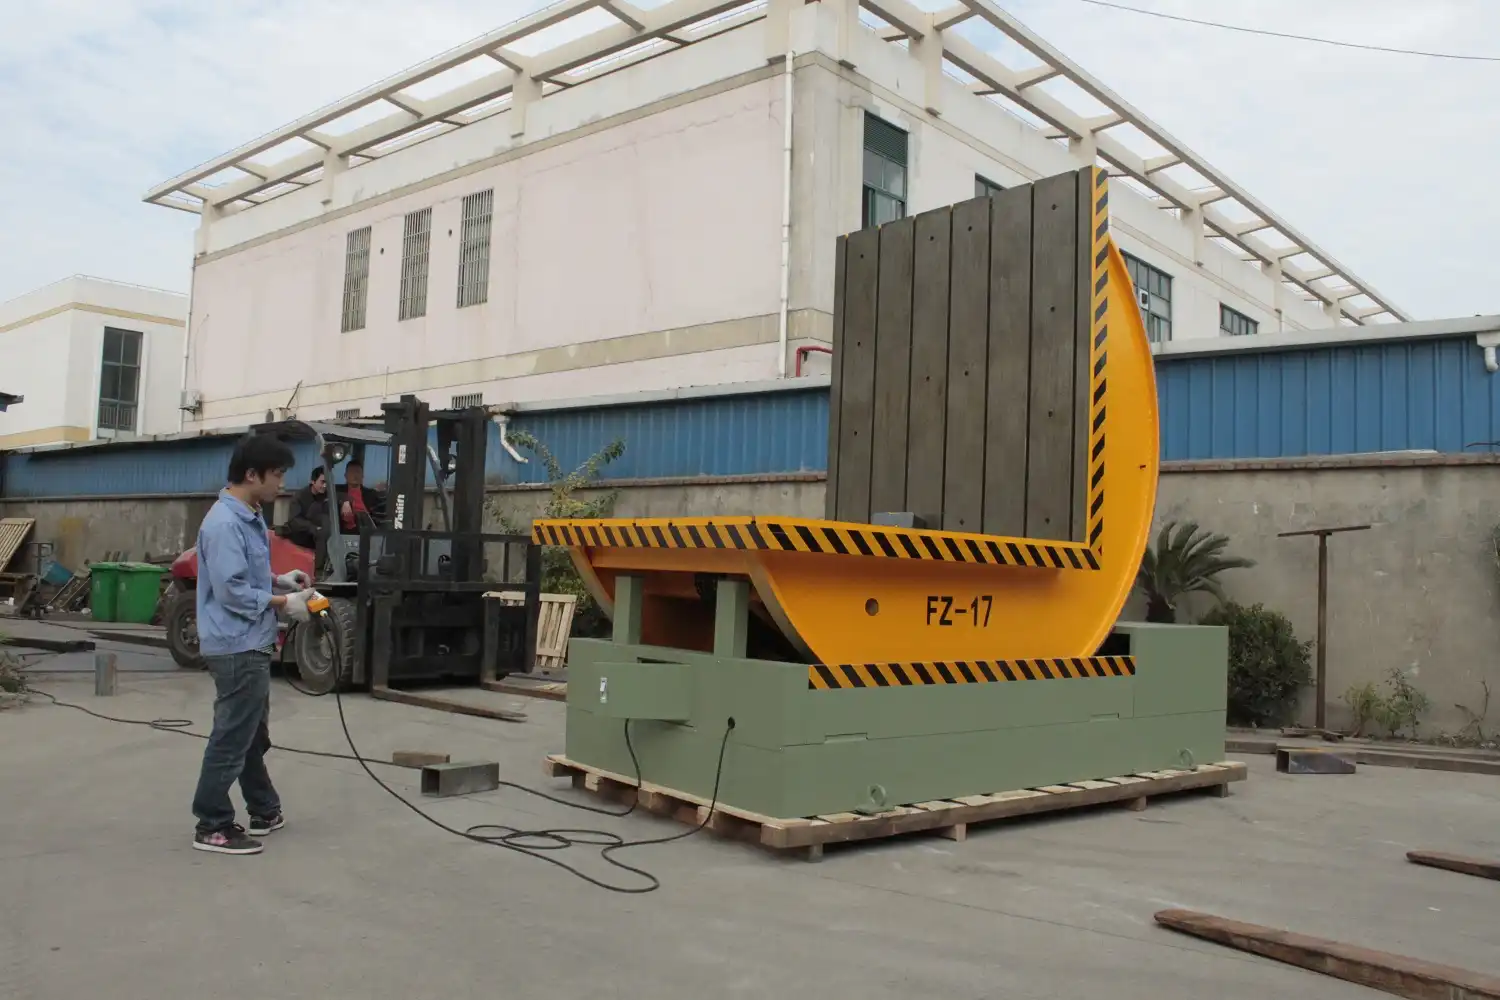
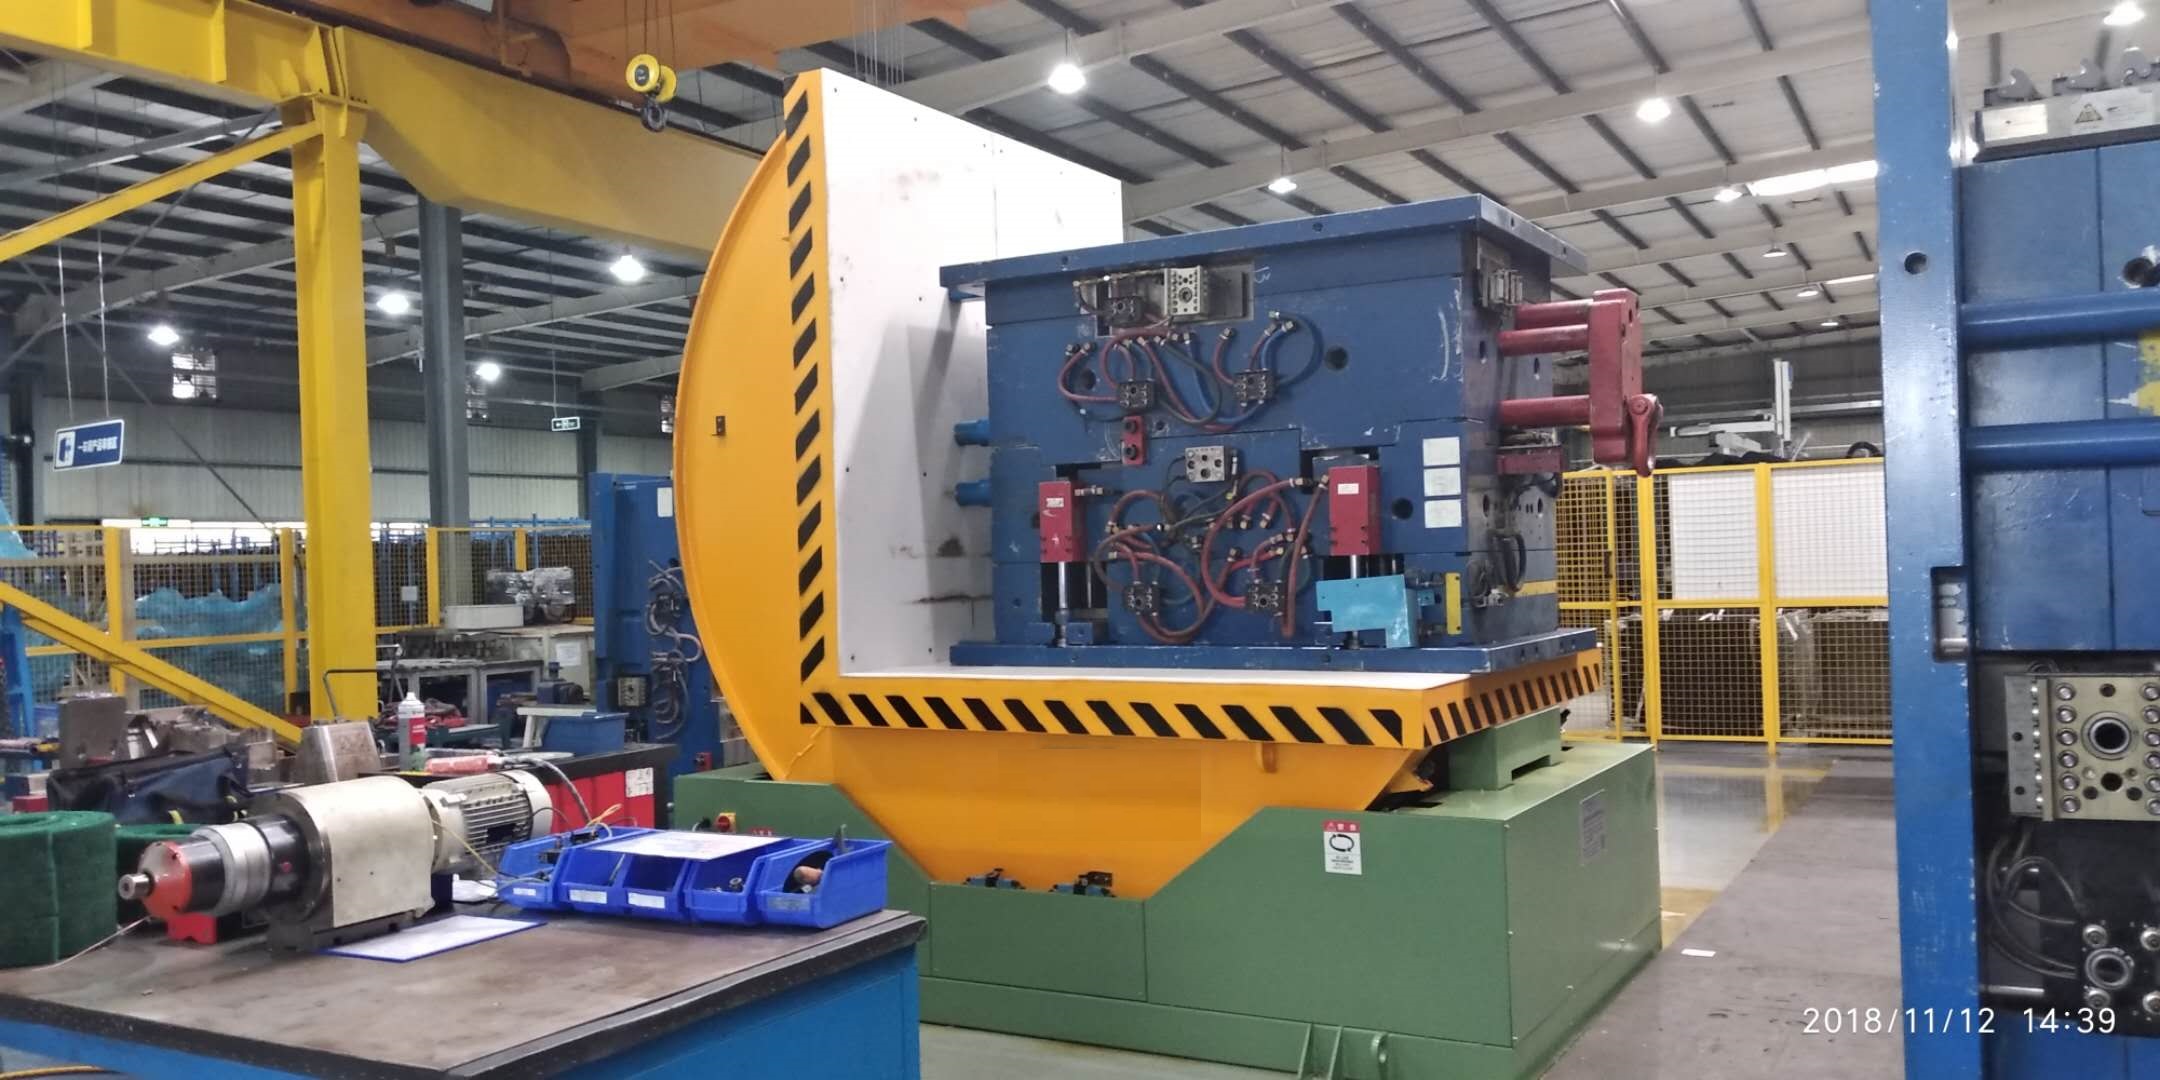
Equipment Setting, Leveling, and Grouting:
- Rigging: Use certified riggers and appropriate lifting equipment (cranes, heavy-duty forklifts) following a pre-approved lifting plan.
- Placement: Carefully lower the upender base onto the anchor bolts.
- Leveling: Use precision machinist levels and the leveling nuts/screws provided on the upender base (or steel shims) to bring the machine base to a perfectly level condition within the manufacturer’s specified tolerance. This is crucial for proper operation and load distribution.
- Grouting: Once leveled, fill the void between the upender base plate and the concrete foundation with high-strength, non-shrink grout. This ensures uniform load transfer and prevents point loading or vibration issues. Ensure proper grout consistency, placement techniques (e.g., using a head box), and curing.
-
Safety and Coordination:
- Establish clear exclusion zones during rigging and installation.
- Ensure all personnel have appropriate Personal Protective Equipment (PPE).
- Coordinate installation activities with other trades working in the area.
- Conduct pre-task safety briefings.
| Preparation / Installation Stage | Key Tasks | Verification Method | Responsibility |
|---|---|---|---|
| Foundation Complete | Verify dimensions, levelness, anchor bolt locations & projection | Measurement, Level, Template Check | Contractor / QA |
| Confirm minimum 28-day cure (or strength verification) | Documentation, Test Reports (if req.) | Contractor / QA | |
| Pre-Equipment Arrival | Confirm clear access route & rigging area | Visual Inspection, Site Walkthrough | Installation Lead |
| Verify utility readiness (power, hydraulics) at connection points | Visual Check, Electrician/Plumber Signoff | Trades / Facility | |
| Final sweep/clean of foundation surface | Visual Inspection | Installation Crew | |
| Equipment Installation | Safe rigging and placement onto anchor bolts | Observation, Following Lift Plan | Rigging Crew |
| Precision leveling of machine base within tolerance | Machinist Level, Dial Indicator | Installation Crew | |
| Proper mixing and application of non-shrink grout | Following Grout Mfg. Instructions | Installation Crew | |
| Post-Installation | Grout curing period | Documentation | Installation Crew |
| Final anchor bolt torquing (if required by manufacturer after grout cure) | Torque Wrench, Manufacturer Specs | Installation Crew / QA |
Following these steps systematically minimizes errors and ensures the mold upender is installed correctly on its foundation, ready for commissioning and safe operation.
Integrating Flooring and Foundation for Optimal Performance
The foundation provides the brute strength, while the flooring provides the operational interface. For optimal performance, safety, and longevity of a heavy mold upender installation, these two components must function as a seamlessly integrated system, not just adjacent layers. Design and installation must consider their interaction points and ensure compatibility.

The successful integration hinges on ensuring the flooring system can be correctly applied to the specific concrete foundation and that the final combined system effectively manages operational stresses. This means verifying the chosen flooring material’s compatibility with the foundation concrete’s properties (e.g., surface profile, moisture content) for proper adhesion. The flooring must provide the required surface characteristics – durability, impact resistance, chemical resistance, and critical slip resistance – directly in the high-traffic, high-impact zones around the upender and mold handling areas. The entire system, from soil to floor surface, must collectively manage static and dynamic loads, resist damage, and facilitate safe movement and maintenance activities. Key integration points include:
- Joint Management: Existing control joints (saw cuts) in the foundation slab, designed to manage concrete shrinkage, must be respected. The flooring system should either be terminated at these joints or installed using flexible joint fillers that accommodate minor movement without cracking the flooring surface (reflective cracking). Expansion joints, typically located around the perimeter of the foundation or where it meets adjacent building structures, must be maintained through the flooring system to allow for thermal expansion and contraction without buckling or damaging the floor or foundation edge.
- Surface Transition: If the equipment foundation slab is thicker than the surrounding general floor slab, a smooth, sloped transition (rather than an abrupt edge) must be created using appropriate ramping materials compatible with the flooring system. This prevents trip hazards and facilitates wheeled traffic.
- Chemical Pathway: The flooring system acts as the first line of defense against spills. Its chemical resistance is vital, but consideration should also be given to sealing joints properly to prevent aggressive chemicals (like hydraulic fluid) from seeping through cracks or joints and potentially reaching/degrading the foundation concrete or grout over time.
- Vibration and Acoustics: While the massive foundation absorbs the bulk of the upender’s vibration, the flooring system can play a minor role. A well-bonded, solid flooring system will transmit less noise than one that is debonded or cracked. Certain flooring materials (like some rubber tiles) might offer slight additional damping, though this is usually secondary to the foundation’s role.
- Maintainability: The flooring choice should not impede necessary maintenance access to the foundation or anchor bolts. If regular anchor bolt torque checks are required, the flooring system around the base needs to accommodate this.
Ultimately, designing the foundation and flooring as an integrated system ensures that the substantial investment in a heavy mold upender is protected by a support structure and working surface truly capable of handling the demanding industrial environment for the long term.
Conclusion
Successfully installing and operating heavy mold upenders relies fundamentally on meticulously planned and executed flooring and foundation systems. Overlooking the specific demands of these large, dynamic machines invites significant risks, including equipment damage, operational inefficiency, and compromised worker safety. A comprehensive approach begins with detailed Facility requirements analysis, encompassing rigorous geotechnical surveys and precise load calculations to inform robust foundation engineering. This typically translates to thick, heavily reinforced concrete foundations designed for both static and dynamic forces. Equally important are the flooring specifications; selecting high-performance materials with superior impact, abrasion, chemical, and slip resistance ensures a safe and durable working surface. Integrating these elements through diligent site preparation, adherence to concrete curing protocols, and precise installation techniques guarantees that your mold upender operates reliably on a system engineered for longevity in a demanding industrial setting.


