How to Prepare Your Foundation: Civil Engineering Requirements for Large Lines
Summary: A robust foundation is a non-negotiable prerequisite for any high-tonnage industrial packing or processing line, transforming abstract “stability” into quantifiable performance. It directly dictates the system’s safety, alignment precision, and operational lifespan by ensuring total settlement is controlled to less than 3mm.
Why Your Foundation Is Your First Piece of Equipment
A packing line for 20-ton steel coils isn’t just placed on the floor; it becomes part of it. The most common and costly mistake is treating the foundation as a mere “site prep” task. I’ve seen projects in Monterrey where inadequate subgrade analysis led to a 5mm differential settlement under the coil car. The result? Chronic misalignment, increased strap breakage, and a 30% loss in planned throughput because the line couldn’t run at its design speed safely.
A properly engineered foundation is the primary interface that manages all static and dynamic loads, ensuring the installed machinery maintains its geometric alignment, operates within designed vibration thresholds, and achieves its full lifespan without stress-induced fatigue failures. It translates the mechanical system’s requirements into a physical, immutable base.
🛠️ Deconstructing the Loads: More Than Just Weight
Your foundation must be designed for two primary load types:
- Static/Dead Loads: This is the total weight of all equipment, including the coil tilter, conveyor, strapping machine, and palletizer. For a typical heavy-duty steel coil line, this can easily exceed 50,000 kg.
- Dynamic/Live Loads: These are the forces generated during operation. They are the real challenge and include:
- Impact Loads: The kinetic energy from a 15-ton coil being upended or placed onto a conveyor.
- Cyclic Loads: Repetitive forces from rotating drums, moving arms, or the hydraulic shock from a clamping cylinder.
- Eccentric Loads: Off-center forces, such as when a tilting cradle grips a coil, creating a significant turning moment (torque) that the foundation must resist without cracking.
🛡️ The Concrete Specs: It’s About the “Recipe”
Specifying “strong concrete” is useless. You must define the performance criteria.
- Minimum Compressive Strength: Typically C30/37 (30 MPa cylinder / 37 MPa cube) or higher is required for heavy industrial applications.
- Reinforcement: Steel rebar (e.g., B500B) spacing and diameter must be per structural calculation to handle tensile stresses and prevent crack propagation.
- Anchor Bolt Embedment & Sleeves: The design must include precisely positioned anchor bolt sleeves or templates. A 2mm error here during pouring can cause hours of rework during installation. The design must account for pull-out force and shear resistance based on equipment manuals.
Expert Pro Tip: Never pour concrete directly onto anchor bolts. Always use corrugated PVC sleeves that are 2-3 times the bolt diameter. This allows for final ±5 mm positional adjustment after the foundation cures and before grouting, saving massive headaches during the machine leveling phase.
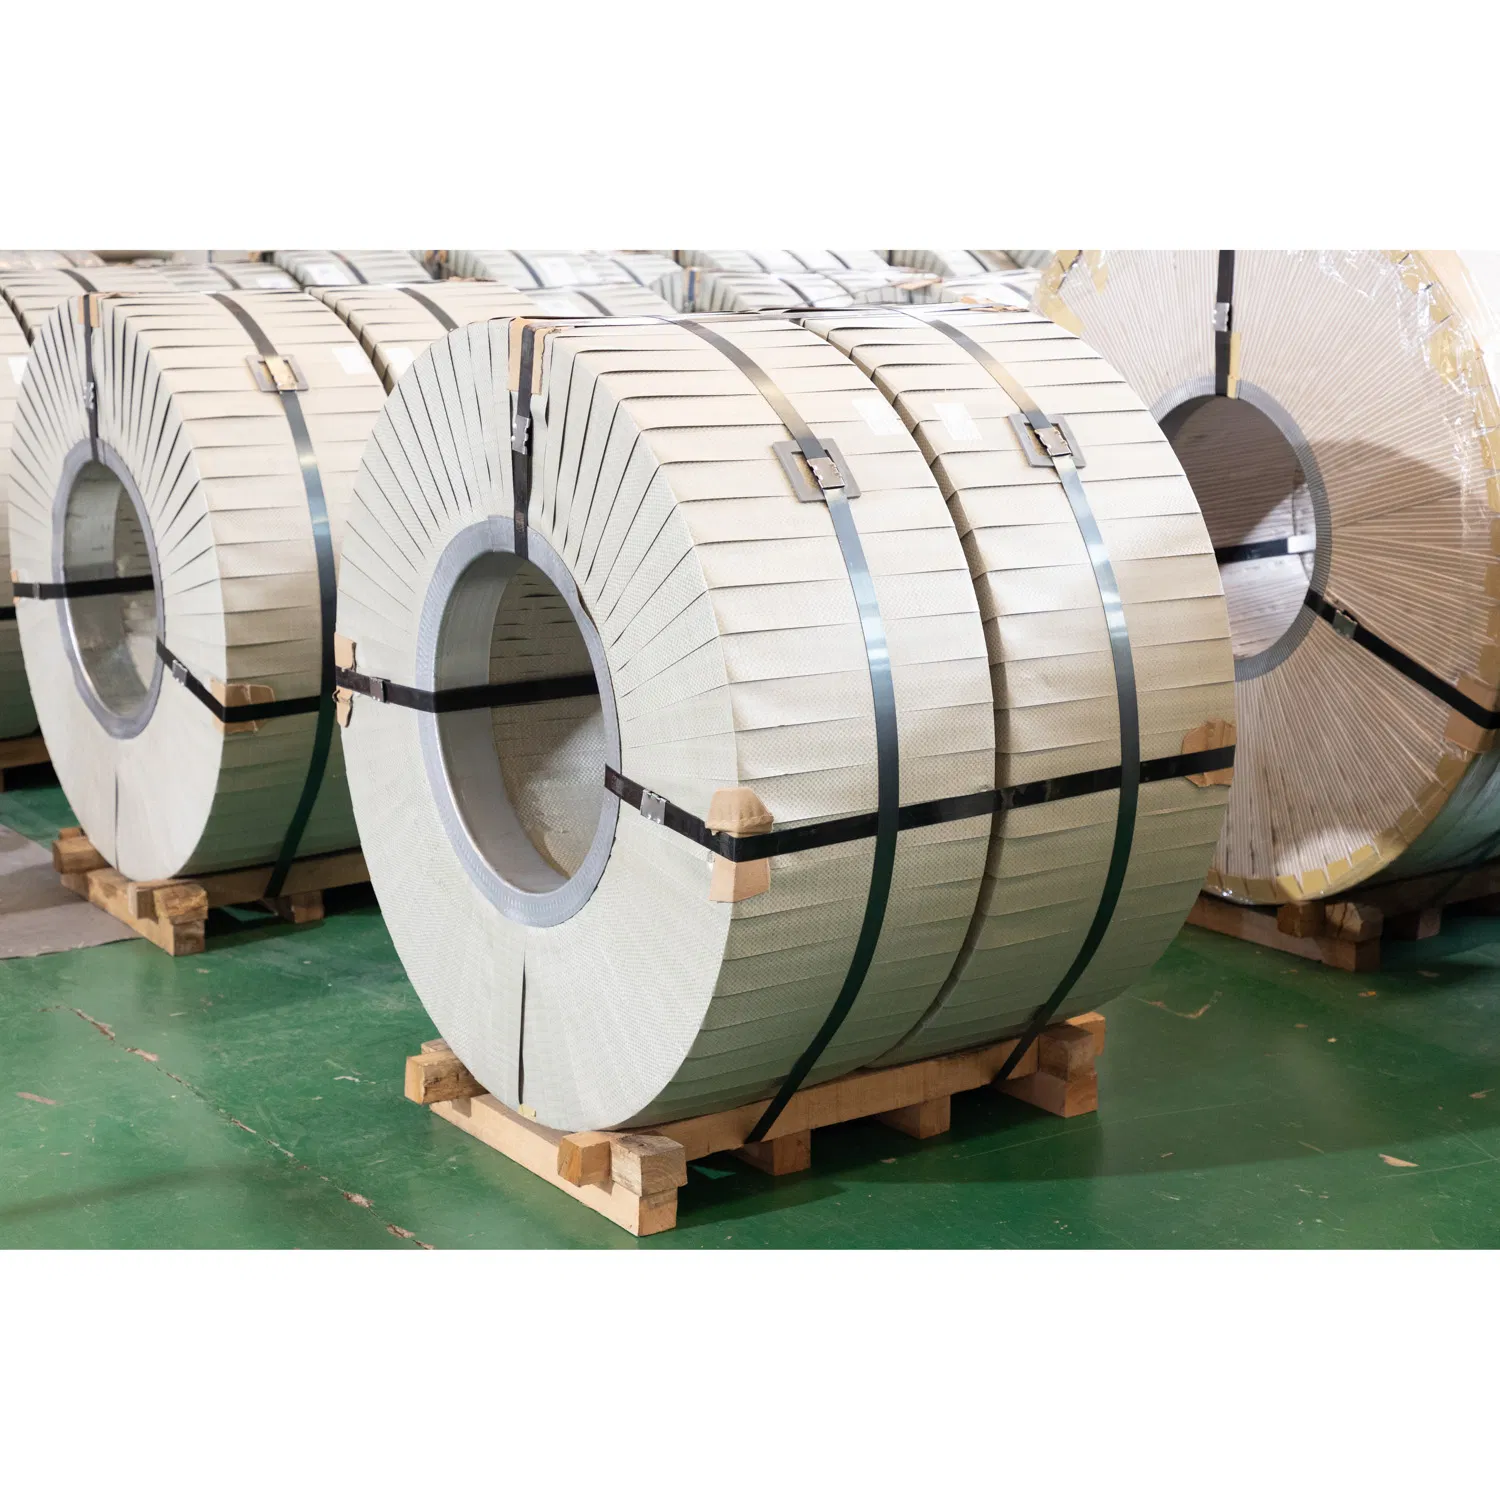
Key Steps in Foundation Preparation: A Site Manager’s Checklist
The planning failure for Jose, a plant manager in Querétaro, was assuming his existing floor could handle a new copper strip line. The vibration from the vacuum handling system caused resonant frequencies that interfered with a precision welding station 20 meters away, ruining product quality. The root cause? No isolated foundation slab with damping considerations.
A successful foundation project follows a strict sequence: comprehensive geotechnical investigation to understand soil bearing capacity (e.g., 150 kN/m²), followed by detailed civil drawings, precise formwork and reinforcement, controlled concrete pour and curing (minimum 28 days), and finally, verification of anchor point locations before equipment arrival.
⚙️ Step 1: Geotechnical Survey & Soil Analysis
This is the most critical data point. You must know what’s underneath.
- Hire a licensed engineer to conduct test bores at the planned installation points.
- Determine the Allowable Bearing Capacity of the subsoil. Weak soil may require pilings or a deeper, reinforced mat foundation.
- Check the water table level to plan for drainage and prevent hydrostatic pressure under the slab.
⚙️ Step 2: Formwork, Reinforcement & Pour
Precision here defines the final product.
- Formwork: Must be rigid to prevent blow-outs during the pour. Laser-level the top to define the finished floor height.
- Reinforcement Cage: Rebar must be tied securely and elevated using chairs to ensure it sits in the lower third of the slab (for tension), as per design drawings.
- Concrete Pour: Must be continuous to avoid cold joints. Use vibration tools to eliminate air pockets, especially around anchor bolt sleeves.
⚙️ Step 3: Curing & Protection
Concrete gains strength over time through hydration.
- Minimum Cure Time: 7 days under wet burlap or curing compounds before light work can resume. Full design strength is reached at 28 days. Schedule your installation accordingly.
- Surface Tolerance: The finished surface flatness should be specified, often within ±3 mm over a 3-meter span to ensure stable equipment seating.
ROI Insight: Investing in a properly isolated, thickened foundation slab can reduce transmitted vibration by over 70%. This extends the service life of nearby sensitive equipment (like laser welders) by years and prevents costly quality issues, paying back the extra initial cost in avoided downtime and rejects.
Mechanical Installation & Anchoring: The Final Connection
I watched an installation team in the U.S. use standard epoxy to anchor a 8-ton palletizer on a 4-inch slab. Within six months, the anchors loosened under cyclic loading. The machine’s drift exceeded 10mm, causing mis-feeds and a near-miss safety incident. The fix was a full shutdown, core-drilling new holes, and installing high-strength mechanical anchors—a cost three times higher than doing it right the first time.
The anchoring system is the critical link that transfers all operational forces from the machine into the foundation. The process involves precise positioning of the equipment using laser alignment, followed by a non-shrink, high-strength grout pour that ensures a 100% bearing contact between the machine base and the concrete, eliminating destructive vibration and movement.
🛠️ Grouting: Filling the Void, Not Just the Gap
The space under the machine baseplate (usually 30-50mm) must be completely filled.
- Use Flowable, Non-Shrink Grout: This specialized cementitious material expands slightly as it cures, creating a perfect, void-free seal. Do not use standard mortar or concrete mix.
- Proper Pour Technique: Create pour boxes on one side and allow the grout to flow freely from one side to the other, ensuring no air is trapped. Use a poker to encourage flow in large areas.
🛡️ Anchor Bolt Final Torquing
This is a calibrated, sequential process.
- Follow the equipment manufacturer’s torque specification (e.g., 450 Nm for M30 bolts).
- Use a calibrated hydraulic torque wrench.
- Torque in a star pattern (like tightening a car wheel) to ensure even loading and avoid distorting the machine frame.
- Re-torque after 24-48 hours of operation as the grout fully sets and compacts.
Common Pitfalls and Long-Term Foundation Health
The “save money now” approach often targets foundation specs. One client opted for a thinner slab. Within two years, hairline cracks propagated around the coil tilter’s anchor points. While not immediately catastrophic, it introduced micro-movements that accelerated wear on the tilter’s pivot bearings, leading to a replacement 18 months earlier than scheduled. The bearing cost alone exceeded the original “savings” on concrete.
The most frequent and costly mistakes include skipping the soil report, accelerating the cure time, using improper grout, and neglecting to establish a baseline for post-installation level checks. These shortcuts convert directly into reduced equipment life, higher maintenance costs, and unplanned downtime.
🚫 Pitfalls to Avoid (The Short-Term List)
- Assuming Existing Floor Suitability: Most factory floors are designed for distributed storage loads, not the concentrated dynamic loads of heavy machinery.
- Poor Anchor Bolt Planning: Incorrect embedment depth, diameter, or layout will force expensive field modifications.
- Inadequate Curing Time: Bringing equipment in early can crack the green concrete, compromising its long-term strength.
- Ignoring Vibration Isolation: For lines with high-cycle components, not installing isolation pads or mats can damage the foundation and the machine.
✅ Long-Term Health Monitoring
Your foundation needs a check-up too.
- Establish Baseline Measurements: After final installation and commissioning, use a precision level to record the exact position of key machine mounting points.
- Schedule Annual Re-checks: Compare annual level measurements to your baseline. Any change exceeding 1-2mm indicates settlement or subgrade movement and should be investigated.
- Visual Inspections: Regularly check for new cracks, spalling around anchors, or moisture seepage, which can indicate underlying issues.
Conclusion
Preparing the foundation for a large packing or processing line is the first and most fundamental act of commissioning. It is not a generic construction task but a precision engineering requirement that directly dictates the safety, efficiency, and return on investment of your entire capital project. By demanding quantified soil data, specified concrete performance, and precise installation protocols, you are not just pouring concrete—you are building the guaranteed performance of your production line for the next two decades. When you’re ready to specify the machinery that will sit on this critical base, partner with an expert who understands this integral relationship, like a trusted coil wrapping machine and line integrator.