Are you struggling with frustrating downtime due to mold upender malfunctions? Unexpected halts in production can be costly and disruptive. Imagine your workflow grinding to a standstill because of a seemingly minor glitch in your upender. Don’t let these issues impact your efficiency.
Mold upenders are crucial for safely and efficiently rotating heavy molds. Common problems include hydraulic failures, electrical issues, mechanical wear, and control system glitches. Troubleshooting often involves checking fluid levels, inspecting wiring, lubricating moving parts, and verifying sensor functionality. Regular maintenance and proactive checks are key to preventing these disruptions and ensuring smooth operation.
This guide provides a quick reference to diagnose and address common mold upender problems, helping you minimize downtime and maximize productivity. Let’s dive into the solutions to keep your operations running smoothly.
Section 1: Diagnosing Hydraulic System Failures in Mold Upenders
Is your mold upender sluggish or unresponsive? A sudden loss of lifting power can bring your entire mold handling process to a screeching halt. Hydraulic system problems are often the culprits behind these frustrating performance drops. Understanding how to diagnose these issues is crucial for swift resolution.
Hydraulic failures in mold upenders often manifest as slow operation, loss of lifting capacity, or jerky movements. Common causes include low fluid levels, pump malfunctions, valve failures, and leaks in hoses or cylinders. Troubleshooting involves checking fluid levels, inspecting for leaks, listening for pump noise, and testing valve operation. Addressing these hydraulic issues promptly is vital for maintaining upender performance and safety.
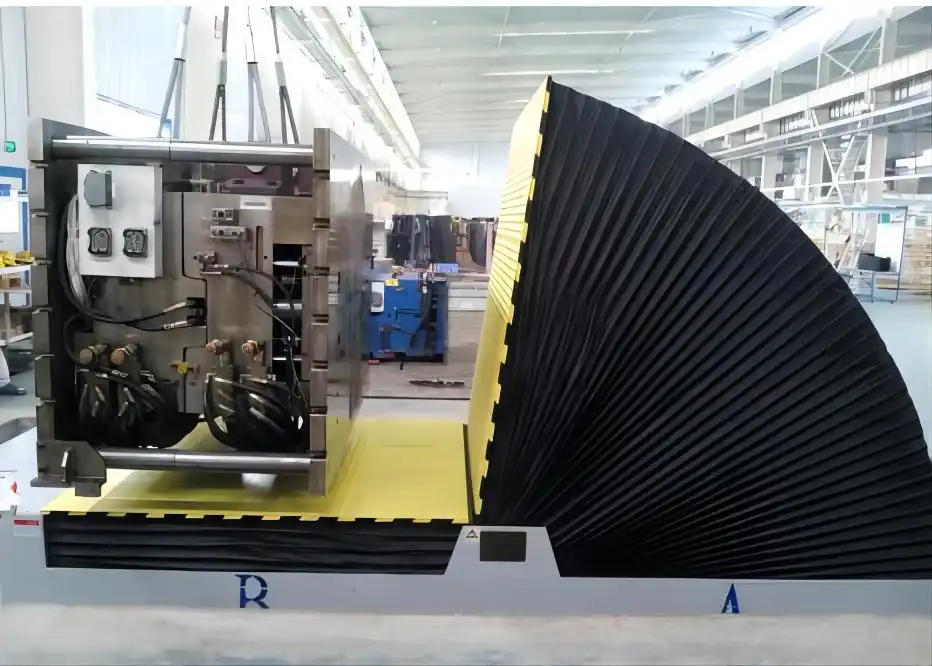
Dive Deeper into Hydraulic Diagnostics
Hydraulic systems are the lifeblood of mold upenders, providing the power necessary for lifting and rotating heavy molds. When these systems falter, efficiency plummets and safety can be compromised. A systematic approach to diagnosing hydraulic issues is essential.
Common Hydraulic Problems and Solutions
To effectively troubleshoot hydraulic problems, it’s helpful to categorize them and understand their typical symptoms and solutions.
| Problem | Symptoms | Probable Causes | Corrective Actions |
|---|---|---|---|
| Low Hydraulic Fluid | Slow operation, reduced lifting capacity, pump cavitation noise | Leaks, insufficient fluid fill, system expansion and contraction | Check fluid level and fill to the correct level. Inspect for and repair leaks. |
| Hydraulic Pump Malfunction | No or low pressure, excessive pump noise, no movement | Worn pump components, internal leaks, drive coupling failure | Inspect pump for damage or wear. Check drive coupling. Consider pump rebuild or replacement. |
| Valve Failure | Erratic movement, no movement in one direction, leaks around valve | Contamination, solenoid failure, worn seals, valve sticking | Clean or replace valve. Check solenoid coil and wiring. Replace worn seals. |
| Cylinder Leaks | Slow or jerky movement, external leaks, reduced lifting force | Worn cylinder seals, damaged cylinder rod, cylinder body damage | Inspect cylinder seals and replace if worn. Inspect cylinder rod for damage and repair or replace cylinder if necessary. |
| Hose and Fitting Leaks | External leaks, pressure loss, system inefficiency | Damaged hoses, loose fittings, worn seals/O-rings | Inspect hoses for damage and replace if necessary. Tighten fittings. Replace worn seals or O-rings. |
| Contaminated Fluid | Valve sticking, pump wear, cylinder damage, system inefficiency | Dirt, water, metal particles in fluid | Drain and flush hydraulic system. Replace filter and refill with new, clean hydraulic fluid. |
| Air in System | Spongy or jerky operation, noisy system | Low fluid level, leaks on suction side of pump | Bleed air from the system. Check for and repair leaks, especially on the suction side of the pump. |
Regularly monitoring hydraulic fluid condition, pressure levels, and conducting routine inspections can significantly reduce downtime caused by hydraulic failures. Implementing a preventative maintenance schedule is key to long-term reliability.
Section 2: Resolving Electrical Issues in Mold Upenders
Is your mold upender refusing to start or exhibiting erratic control? Electrical malfunctions can be particularly perplexing, leaving you in the dark about the root cause. A systematic approach to electrical troubleshooting is crucial to quickly restore functionality.
Electrical problems in mold upenders can range from simple wiring faults to complex control system failures. Common symptoms include no power, intermittent operation, and malfunctioning controls. Troubleshooting involves checking power supply, inspecting wiring and connections, testing switches and sensors, and examining control panel components. Accurate electrical diagnosis is essential for safe and effective repairs.
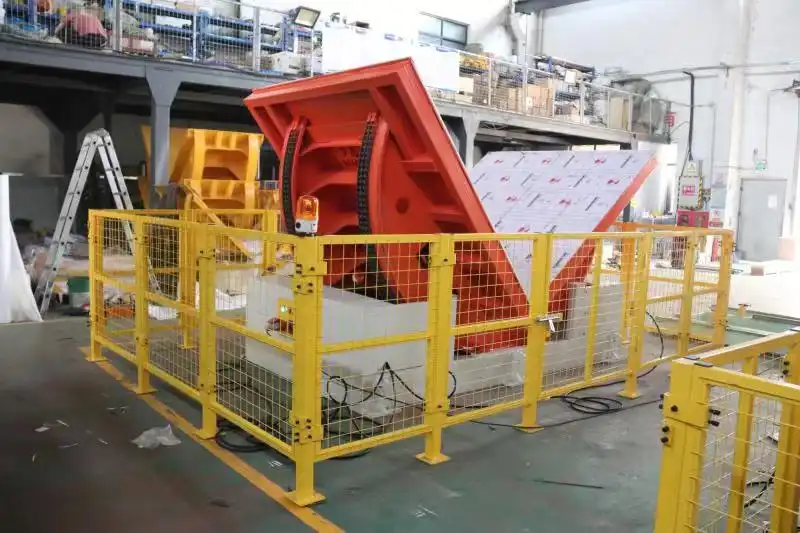
Stepping Through Electrical Diagnostics
Electrical systems in mold upenders are responsible for control, safety interlocks, and powering the hydraulic pump motor. When electrical issues arise, they can manifest in various ways, disrupting operation and potentially creating safety hazards.
Here’s a breakdown of common electrical problems and how to approach troubleshooting:
- Power Supply Problems: Begin by verifying the power supply to the upender.
- Check the main disconnect switch: Ensure it is in the “ON” position.
- Inspect circuit breakers and fuses: Look for tripped breakers or blown fuses in the control panel and main power panel. Reset breakers or replace fuses as needed.
- Verify voltage: Use a multimeter to check the incoming voltage at the upender’s main electrical panel to ensure it matches the equipment’s requirements.
- Wiring and Connections: Loose or damaged wiring is a frequent cause of electrical issues.
- Visual inspection: Carefully inspect all wiring for signs of damage, such as cuts, abrasions, or fraying.
- Check connections: Ensure all electrical connections are secure and tight. Look for loose terminals, corroded connectors, or wires pulled out of connectors.
- Continuity testing: Use a multimeter to perform continuity tests on wires to identify breaks or shorts.
- Switches and Sensors: Limit switches, safety switches, and proximity sensors are critical for upender operation and safety.
- Testing switches: Use a multimeter to test the functionality of switches. Ensure they open and close correctly when activated.
- Sensor checks: Verify sensor operation by observing indicator lights or using a multimeter to check for signal changes when the sensor is activated.
- Adjustment: Check the physical positioning and adjustment of limit switches and sensors. Misalignment can prevent proper operation.
- Control Panel Components: Control panels house relays, contactors, PLCs, and other components that manage upender functions.
- Relay and Contactor inspection: Listen for clicking sounds during operation, indicating relay or contactor activation. Inspect for burnt contacts or coil failures.
- PLC diagnostics: If equipped with a PLC, check for error codes or diagnostic messages on the PLC display. Consult the PLC manual for troubleshooting guidance.
- Component testing: For more complex issues, component-level testing may be necessary, requiring specialized tools and expertise.